SheetLink
Export your Revit model data (by categories, elements, schedules) to Excel and Google Sheets. Edit the data and import it back to update the model.
Table of contents
Schedules
The first step is to select the SheetLink from the DiRootsOne menu and choose the Schdules tab. Make sure that you have created a schedule in Revit, to be exported by SheetLink from DiRootsOne.
Steps:
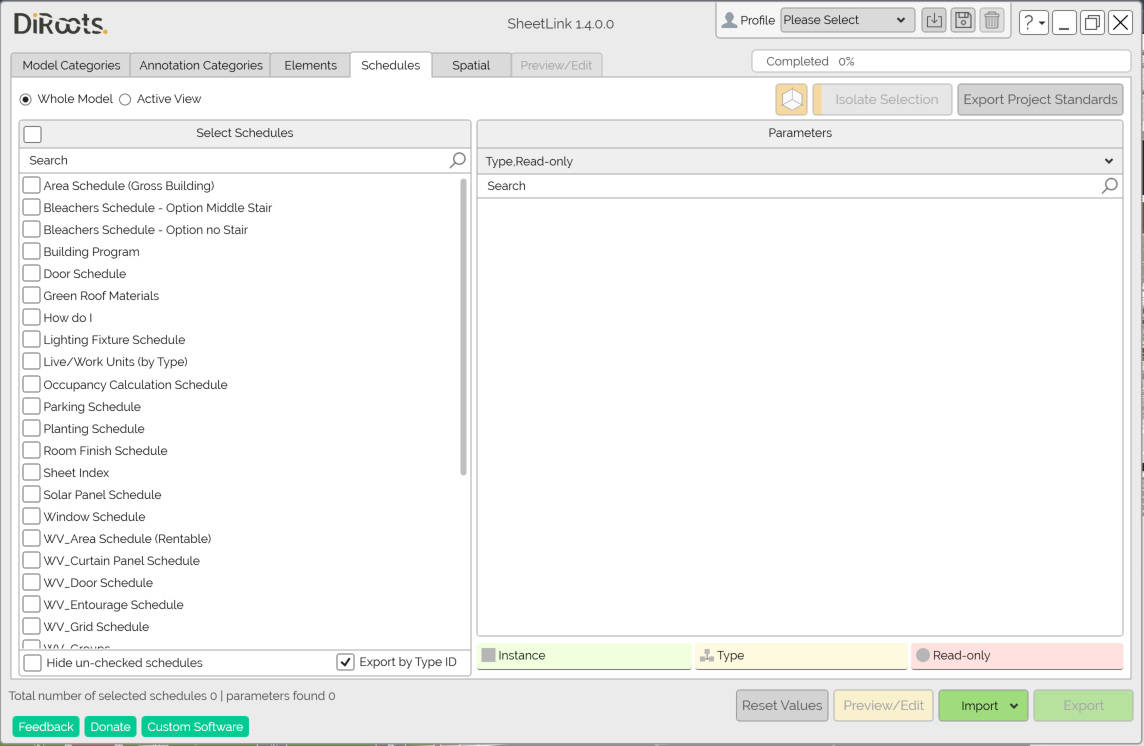
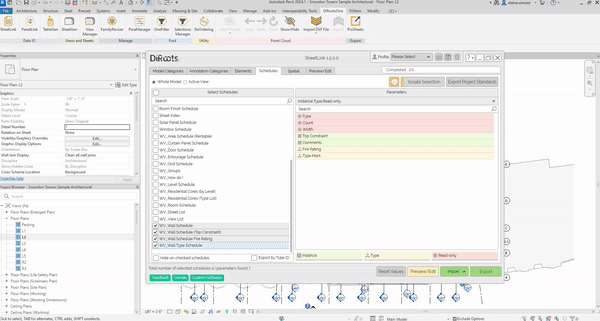
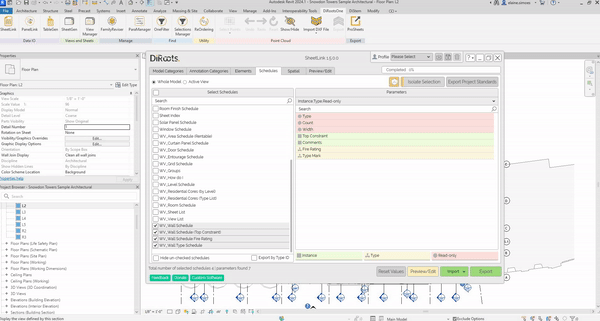
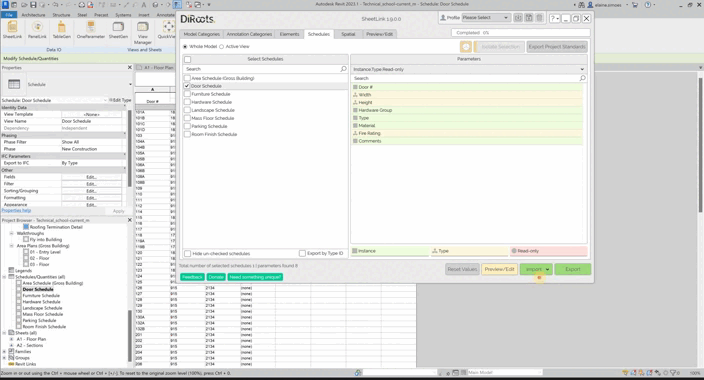
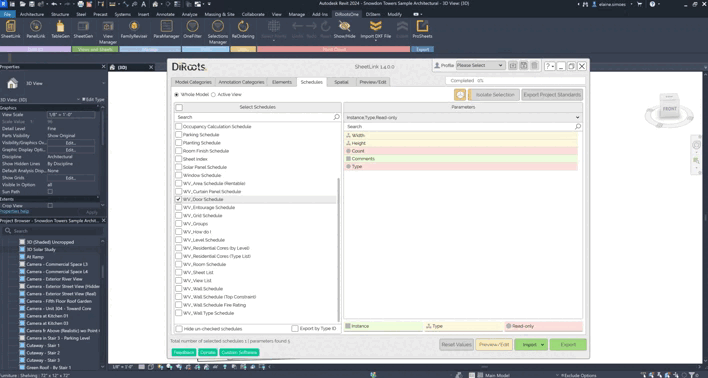
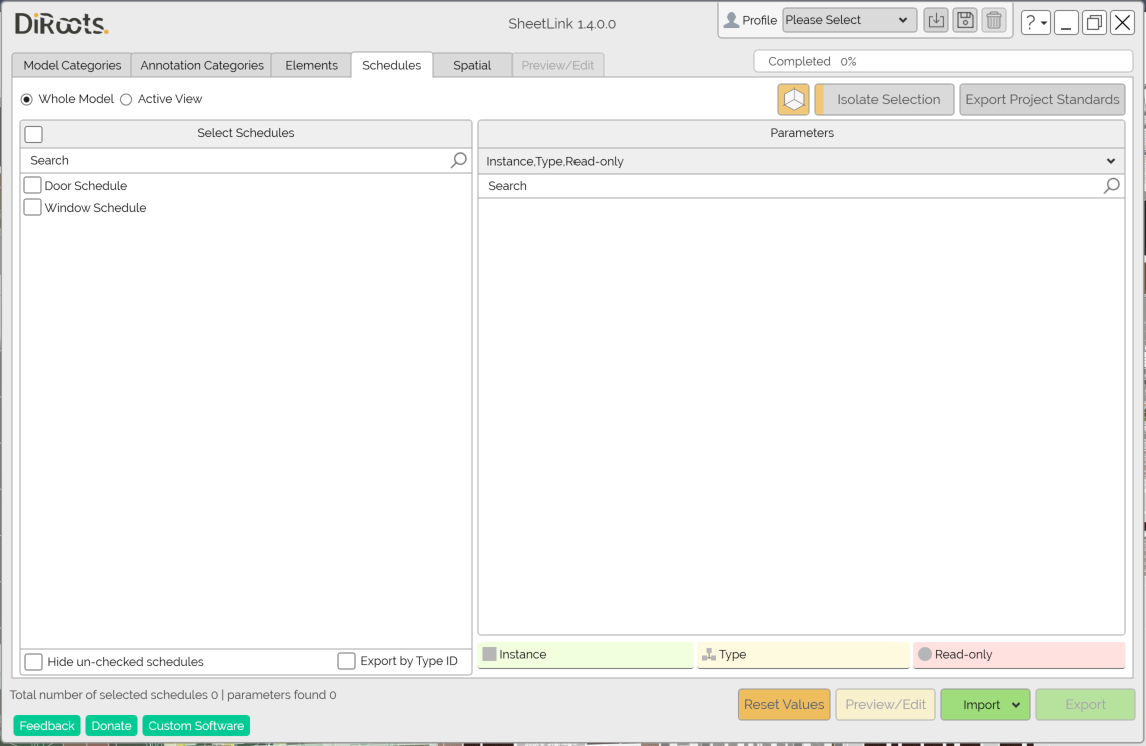
- In this tab, you can choose between selecting a schedule from the Whole Model or from the Active View.
The 'Whole Model' radio button will show all existing schedules.
The 'Active View' radio button will show the existing schedules in the current view.
- Use the checkboxes above the table to select to Export by Type ID.
Note: the version on the image may not reflect the latest version of SheetLink/DiRootsOne.
- Use the checkboxes in the Select Schedule table to choose the schedules to be exported by SheeLink.
Note: the version on the image may not reflect the latest version of SheetLink/DiRootsOne.
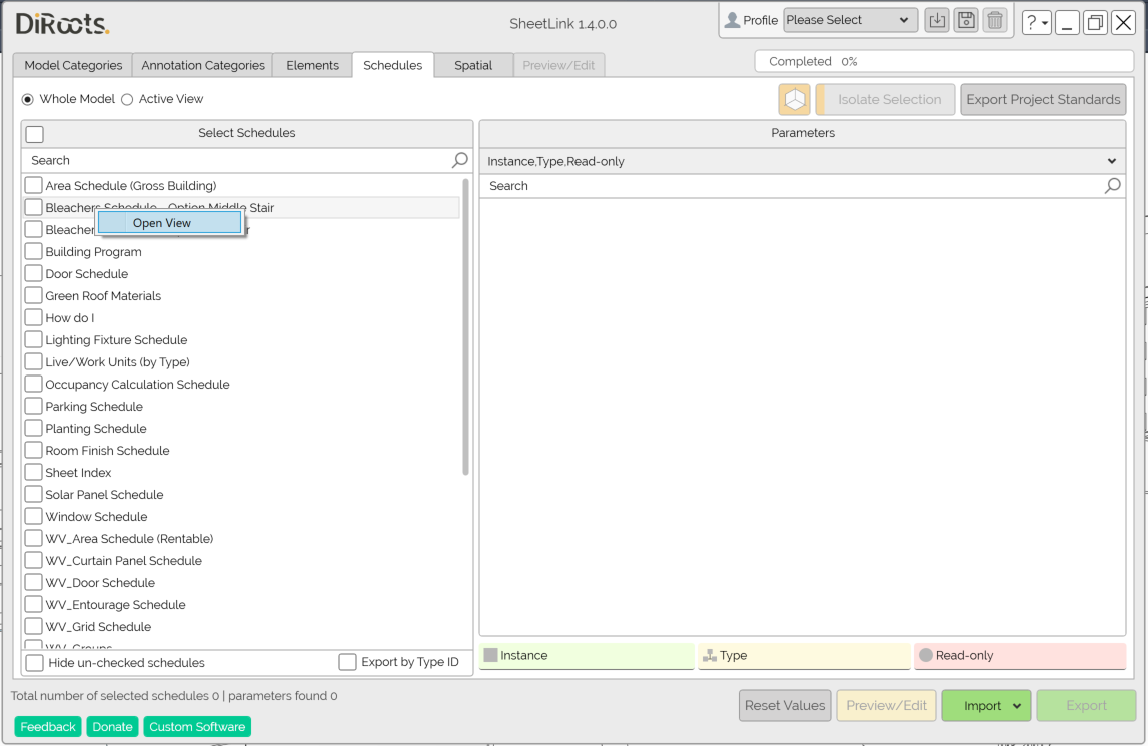
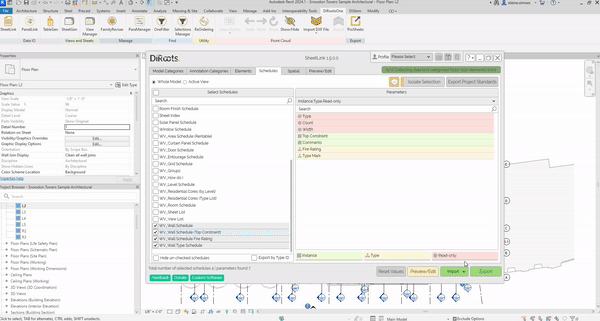
- Right-click on the schedule to choose the option to view it.
Note: the version on the image may not reflect the latest version of SheetLink/DiRootsOne.
Search & Filtering
Find Schedules
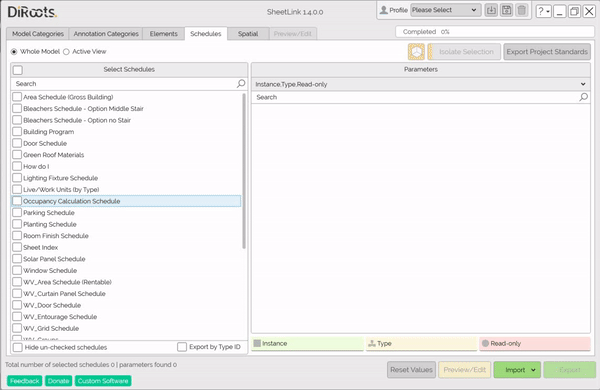
The search box will search for schedules contained in the Select Schedules column.

Note: the version on the image may not reflect the latest version of SheetLink/DiRootsOne.
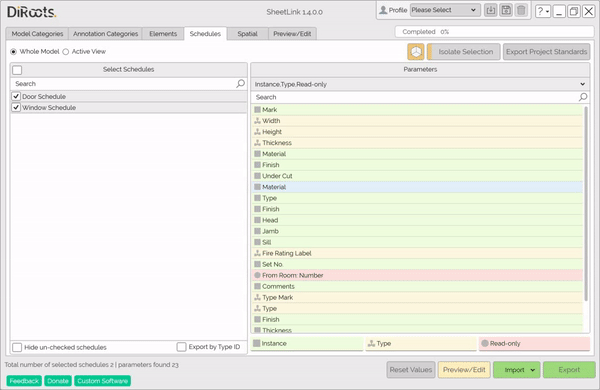
Filter Parameters
The parameters can be filtered by Instance, Type and Read-only.
Note: the version on the image may not reflect the latest version of SheetLink/DiRootsOne.
# Note:
Instance parameters are displayed in green.
Type parameters are displayed in yellow.
Read-only parameters are displayed in red.
Preview/Edit
Click to preview and edit the sheet before exporting it.

Note: the version on the image may not reflect the latest version of SheetLink/DiRootsOne.
Export
Click to export the sheet to Google Drive, Excel or Morta.
Export Options
# Note:
Choose to keep formatting of the schedule, or export as a template file.
If you choose to keep format, you will not be able to import data back to Revit.
To export the linked elements use the ‘Keep formatting of Schedules’ option.
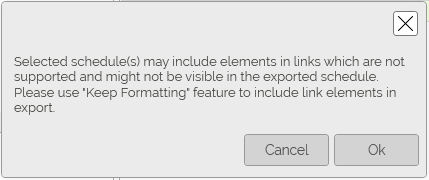
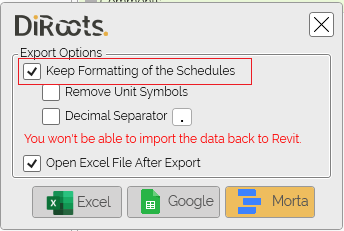
See below for the difference between the exported sheets, keeping the format and the template sheet.
Note: the version on the image may not reflect the latest version of SheetLink/DiRootsOne.
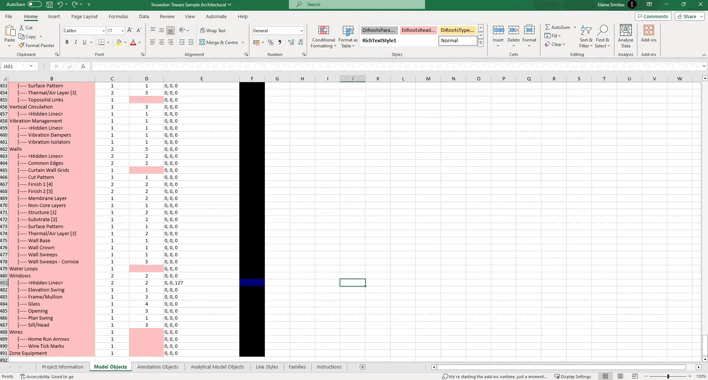
The template Sheet file is editable and after the editing, can be imported through SheetLink. Caution, open the Instruction tab in your Excel file to get the colors legend.
# Note:
Yellow: Type Value
Red: Read-only Value. This fields can not be edited.
Grey: Parameter does not exist for this element.
# Note:
If you are altering the value of 'Type Parameters', ensure that you have the same value for all elements with the same 'Type ID'
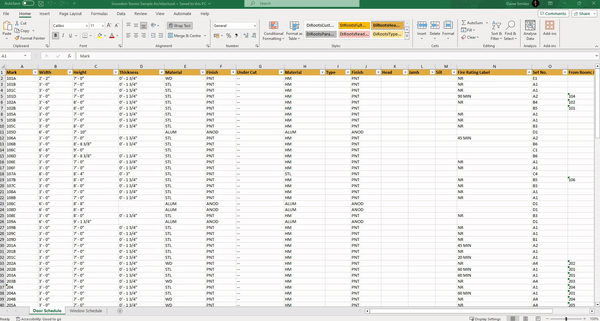
1. Export to Excel file.
Choose the folder location to export the Excel file, and wait for a few seconds for the export process.
Note: the version on the image may not reflect the latest version of SheetLink/DiRootsOne.
2. Export to Google Drive.
Connect to your Google Drive account, and then select a folder to export the schedule to.
Note: the version on the image may not reflect the latest version of SheetLink/DiRootsOne.
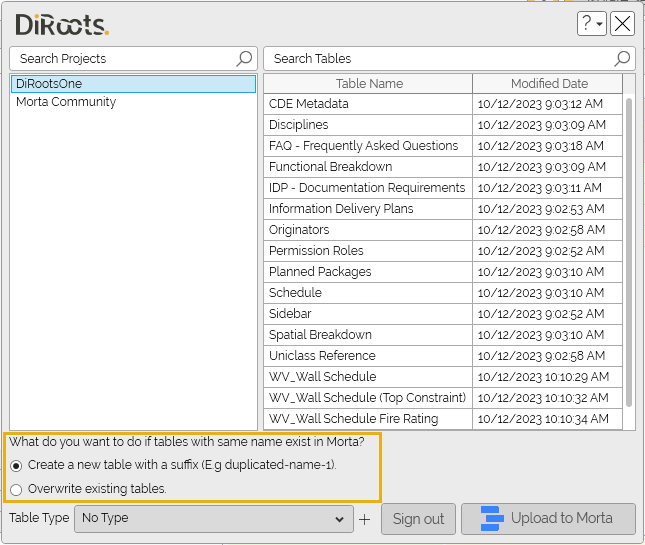
3. Export to Morta.
To export sheet to Morta, make sure you are connected to the Morta API. Don’t worry if you’re not connected, just go to your Morta profile > Integrations and click on the New API Key button. Copy the created key, and paste it into the Morta API Key field in SheetLink. Now, choose your project into Morta and click on Upload to Morta button.
# Note:
To learn more about connecting to the Dead API, click on "How to get the API Key" link.
Note: the version on the image may not reflect the latest version of SheetLink/DiRootsOne.
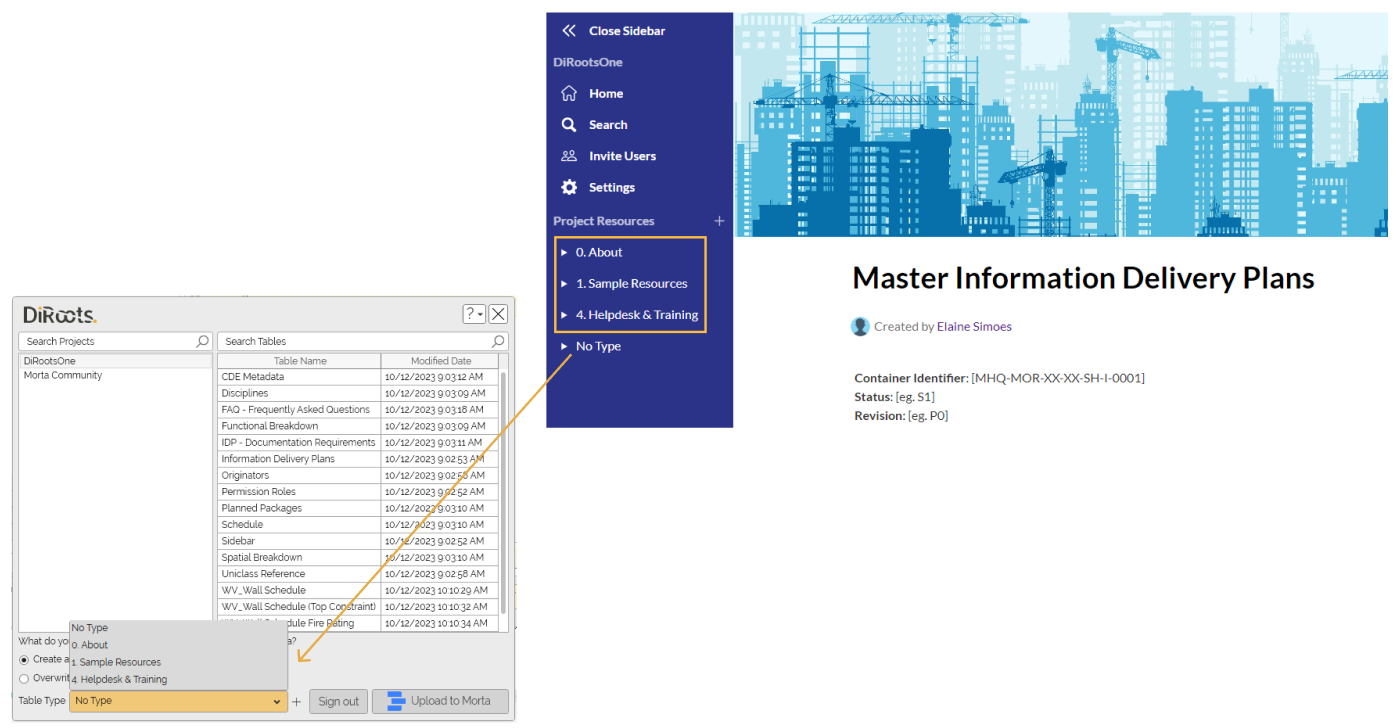
Note that maybe can exist a table with the same name and you can choose to Create a new table with a suffix or Overwrite existing tables.
Note: the version on the image may not reflect the latest version of SheetLink/DiRootsOne.
You can also choose a Table type to export sheet, according you have in your selected project.
Note: the version on the image may not reflect the latest version of SheetLink/DiRootsOne.
Import
If you have made any edits to the file, import it and update the schedules in Revit. Before importing the file, you can preview the sheet to make sure, and then complete the import. 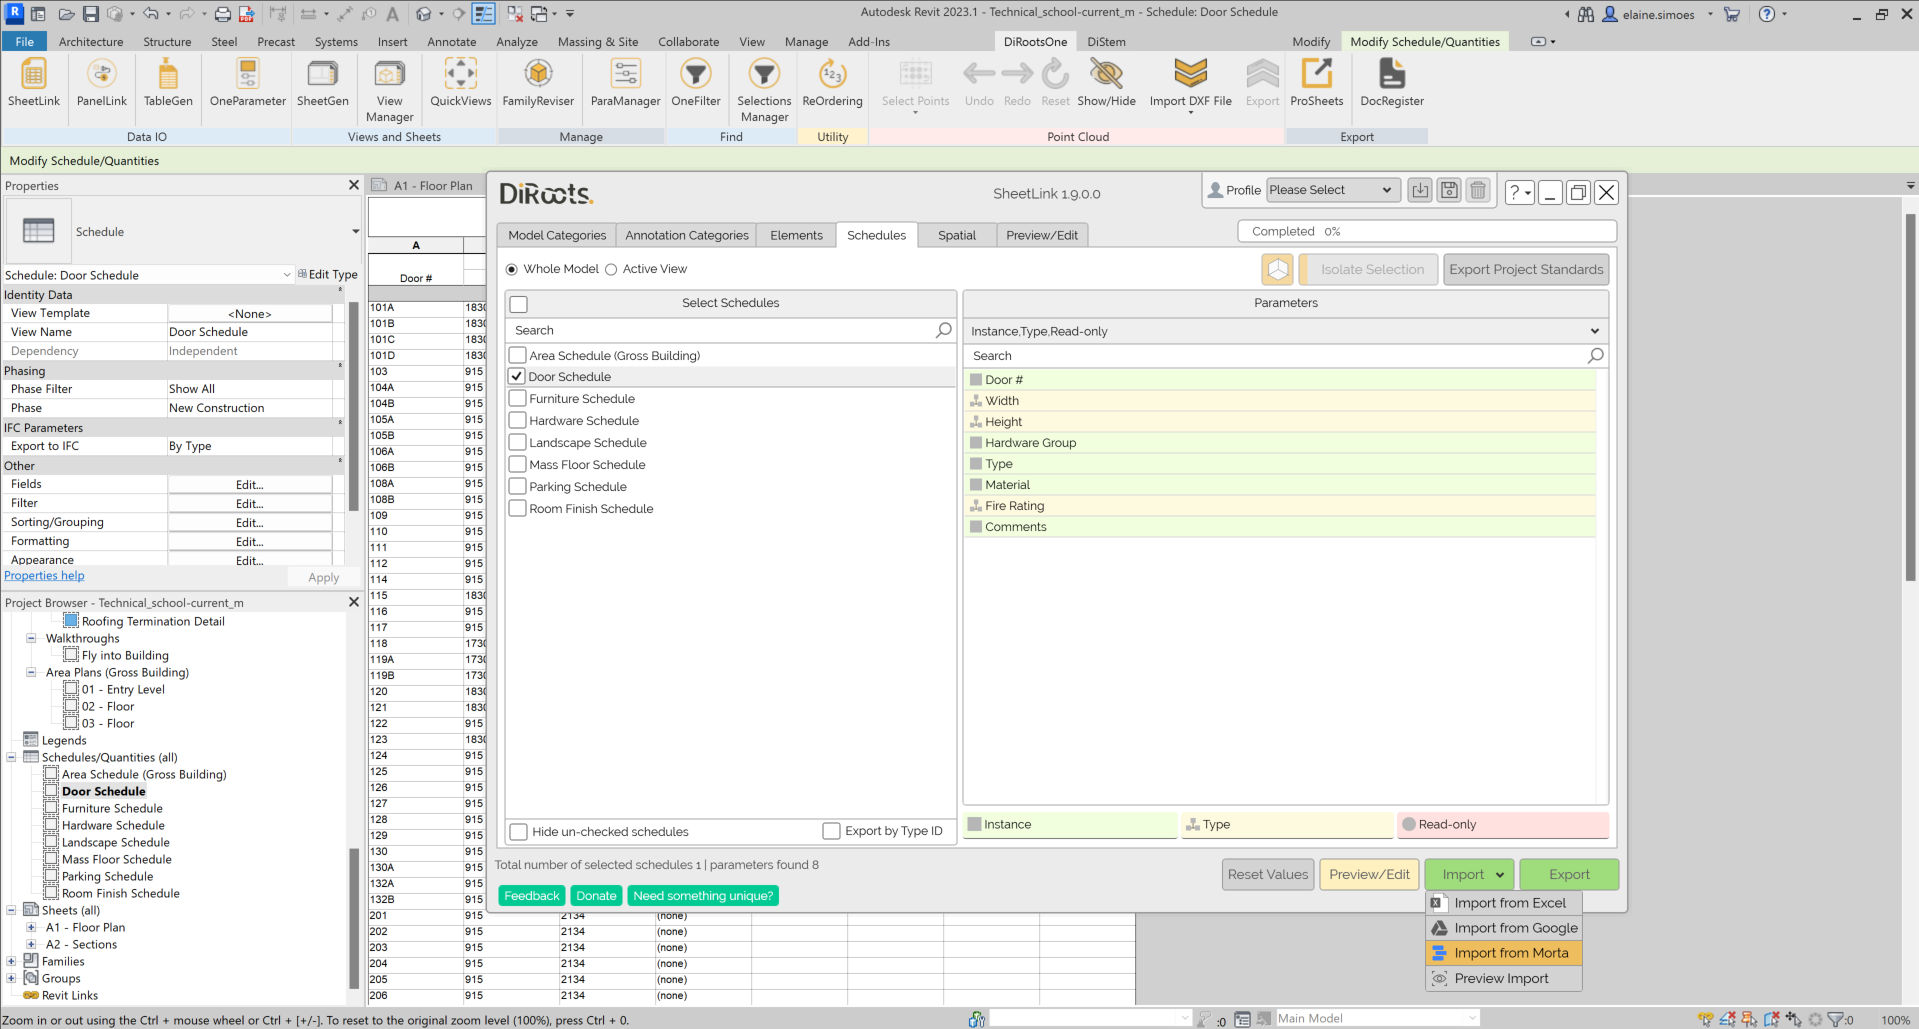
Note: the version on the image may not reflect the latest version of SheetLink/DiRootsOne.
-
Click on “Import” and select where you want to bring the data from.
-
In the selected application (Excel, Google Drive or Morta) select the desired schedule.
Note: the version on the image may not reflect the latest version of SheetLink/DiRootsOne.
# Note:
Note that if the schedule has been exported by selecting the "Keep formatting" option, it will not be possible to import the edited data outside Revit. Make sure that the schedule have been exported while keeping the template editable.
# Note:
New columns added in the Morta application will not be added to the Revit model.
Other Features
Isolate Selection
The Isolate Selection button allows filtering the elements from the selected Schedules in a Temporary View (Hide/Isolate).

Note: the version on the image may not reflect the latest version of SheetLink/DiRootsOne.
Create a section box
You can use the existing 3D view or duplicate it. Visualize only filtered elements or all elements within Section Box, with ability to define offset from marked elements.
Note: the version on the image may not reflect the latest version of SheetLink/DiRootsOne.
Export Project Standards
The Export Project Standards button allows yoy to export the main project data to Excel or Google Drive. The data to be exported is the Project Information, Object Styles, Line Styles and Families.

Note: the version on the image may not reflect the latest version of SheetLink/DiRootsOne.
Import Project Standards file
You can also edit some Project Information and import to update the current model.
Note: the version on the image may not reflect the latest version of SheetLink/DiRootsOne.
Reset Values
Select the Reset Values button to clear all the selected schedules.
Note: the version on the image may not reflect the latest version of SheetLink/DiRootsOne.