SheetLink
Export your Revit model data (by categories, elements, schedules) to Excel and Google Sheets. Edit the data and import it back to update the model.
Table of contents
Spatial
The first step is to select the SheetLink from the DiRootsOne menu and to choose the Spatial tab. Make sure you have rooms or spaces created in the model, to be exported by SheetLink from DiRootsOne.
Steps:
- Use the checkboxes above the table to select the rooms or spaces to get the parameters.
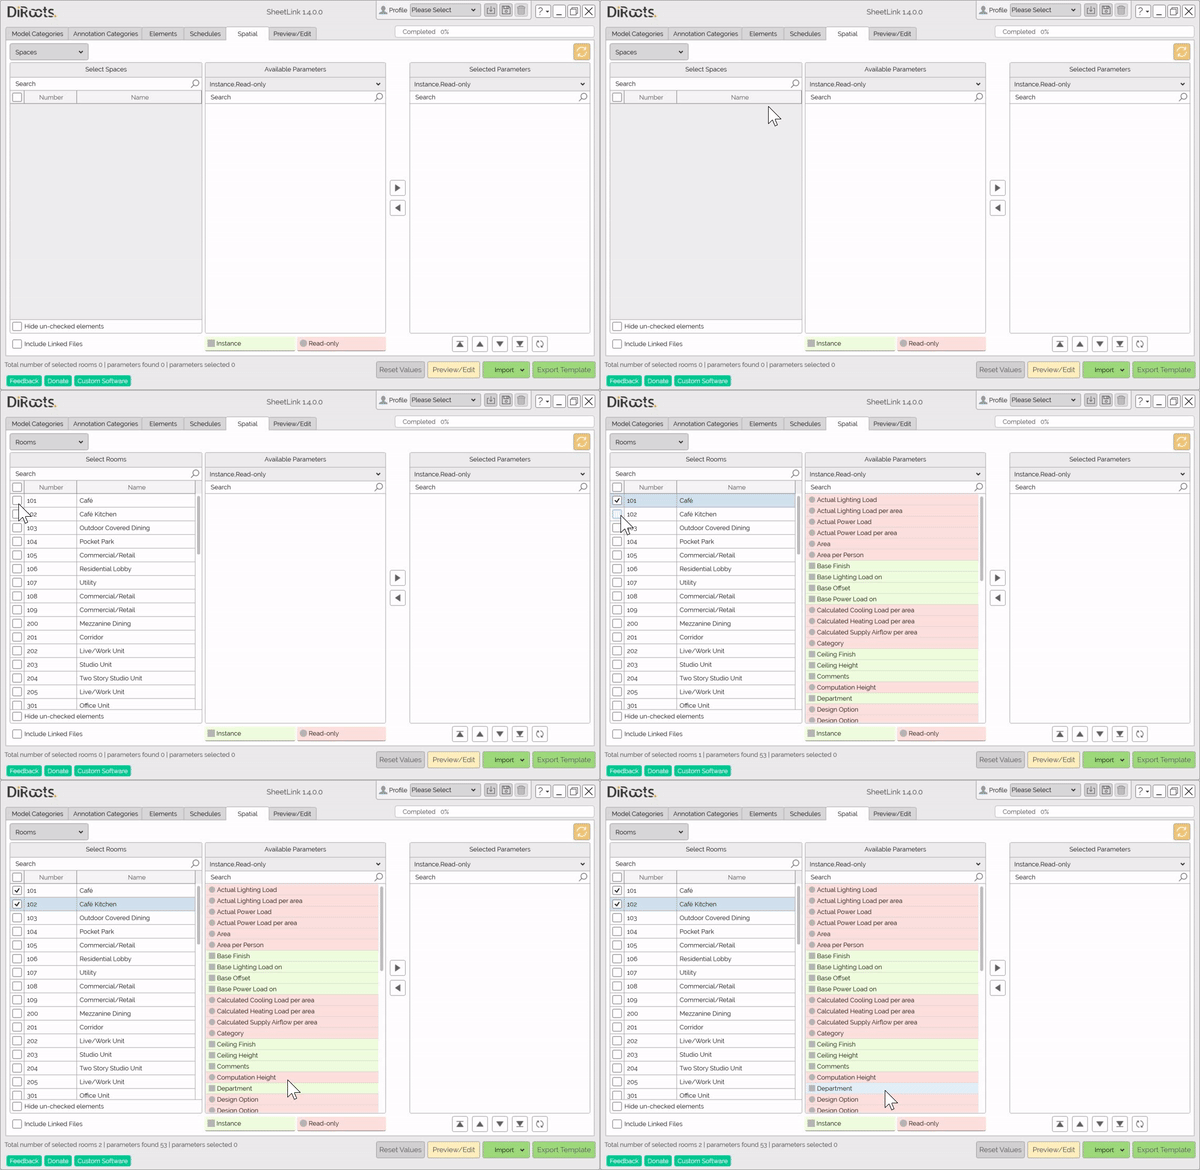
Note: the version on the image may not reflect the latest version of SheetLink/DiRootsOne.
- Use the checkboxes above the table to select the Include Linked Files option.
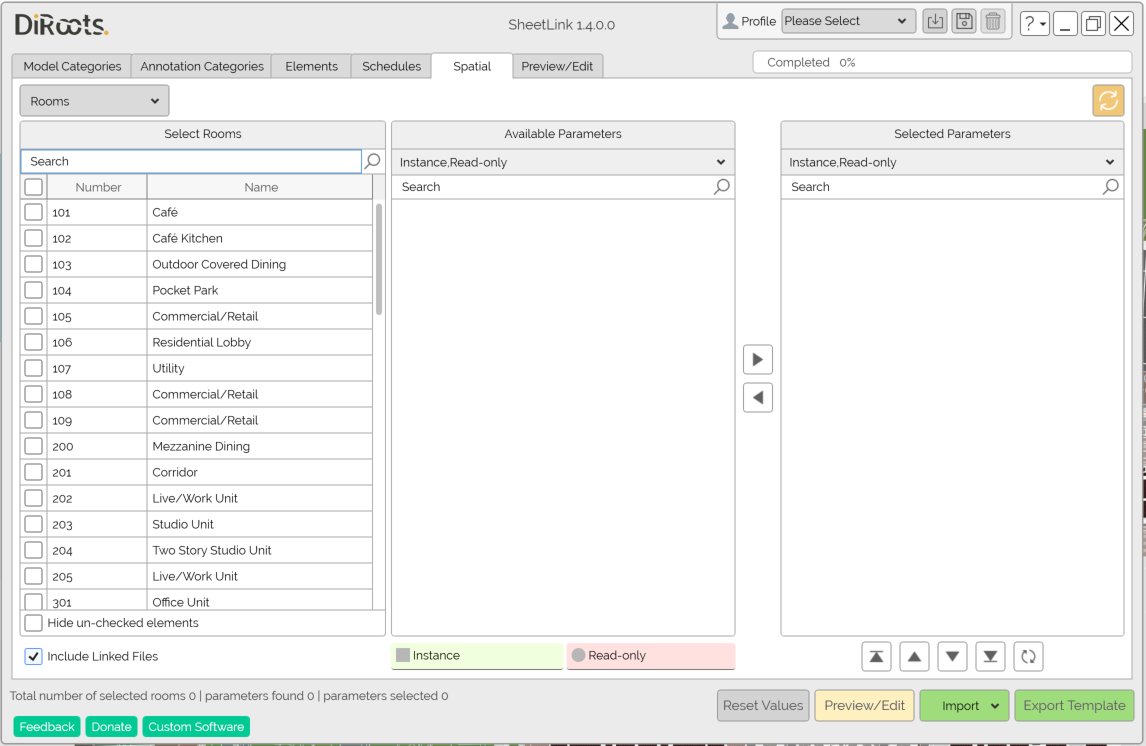
Note: the version on the image may not reflect the latest version of SheetLink/DiRootsOne.
Search Rooms or Spaces
The search box will search for Rooms or Spaces contained in the Select column.
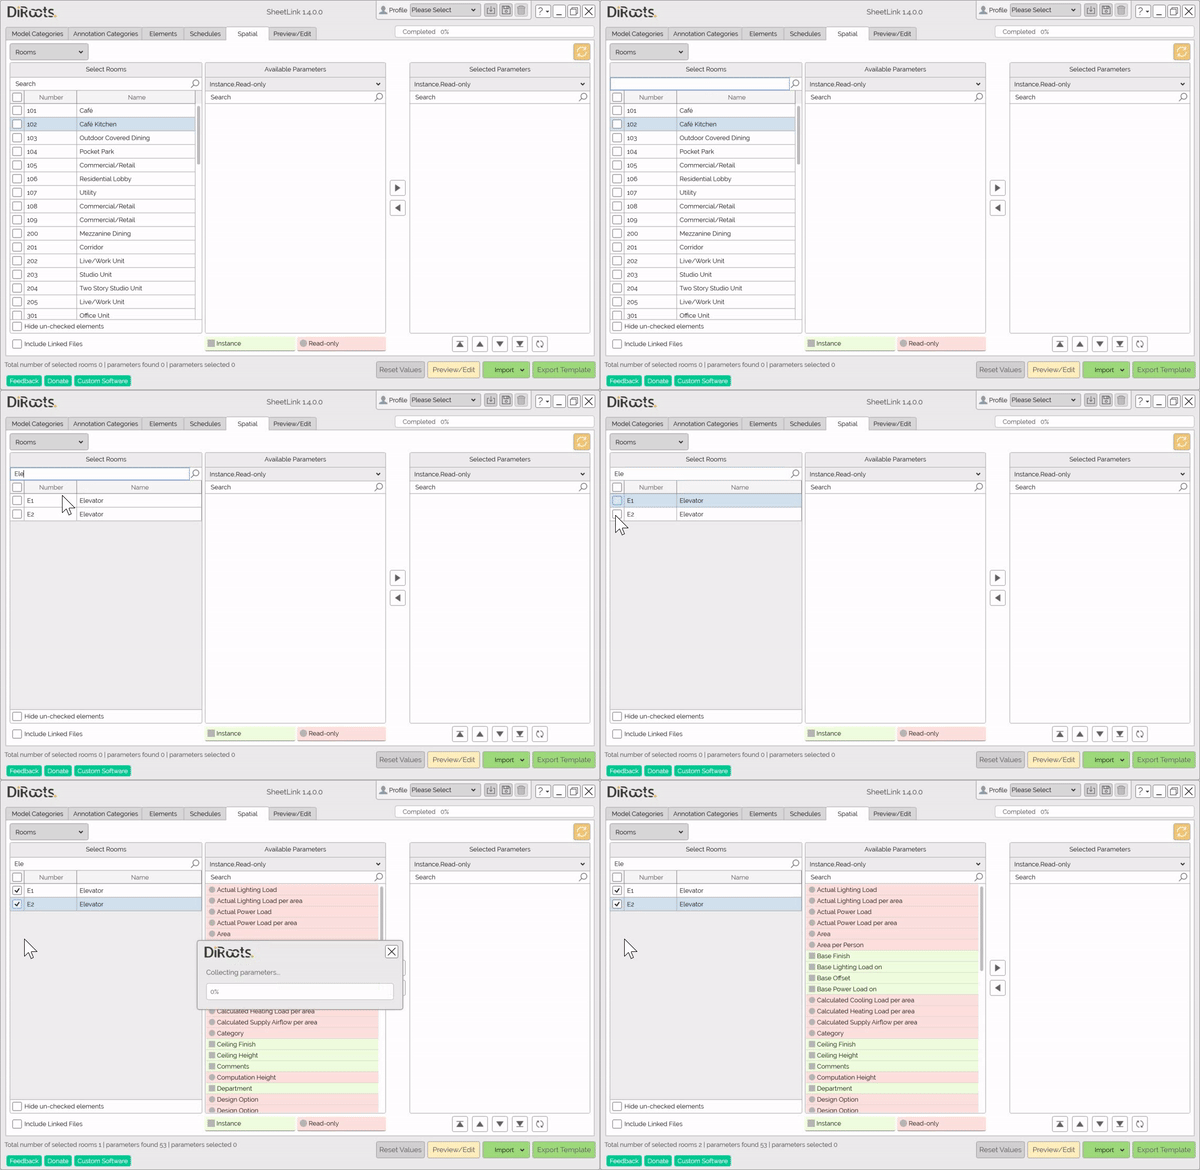
Note: the version on the image may not reflect the latest version of SheetLink/DiRootsOne.
Highlighted Elements
Select some rooms or spaces and right-click to choose to highlight the elements.
# Note:
Make sure you have the correct view opened to highlight the room.
If you do not have the correct view opened, the SheetLink can find the view, but could take a long time.
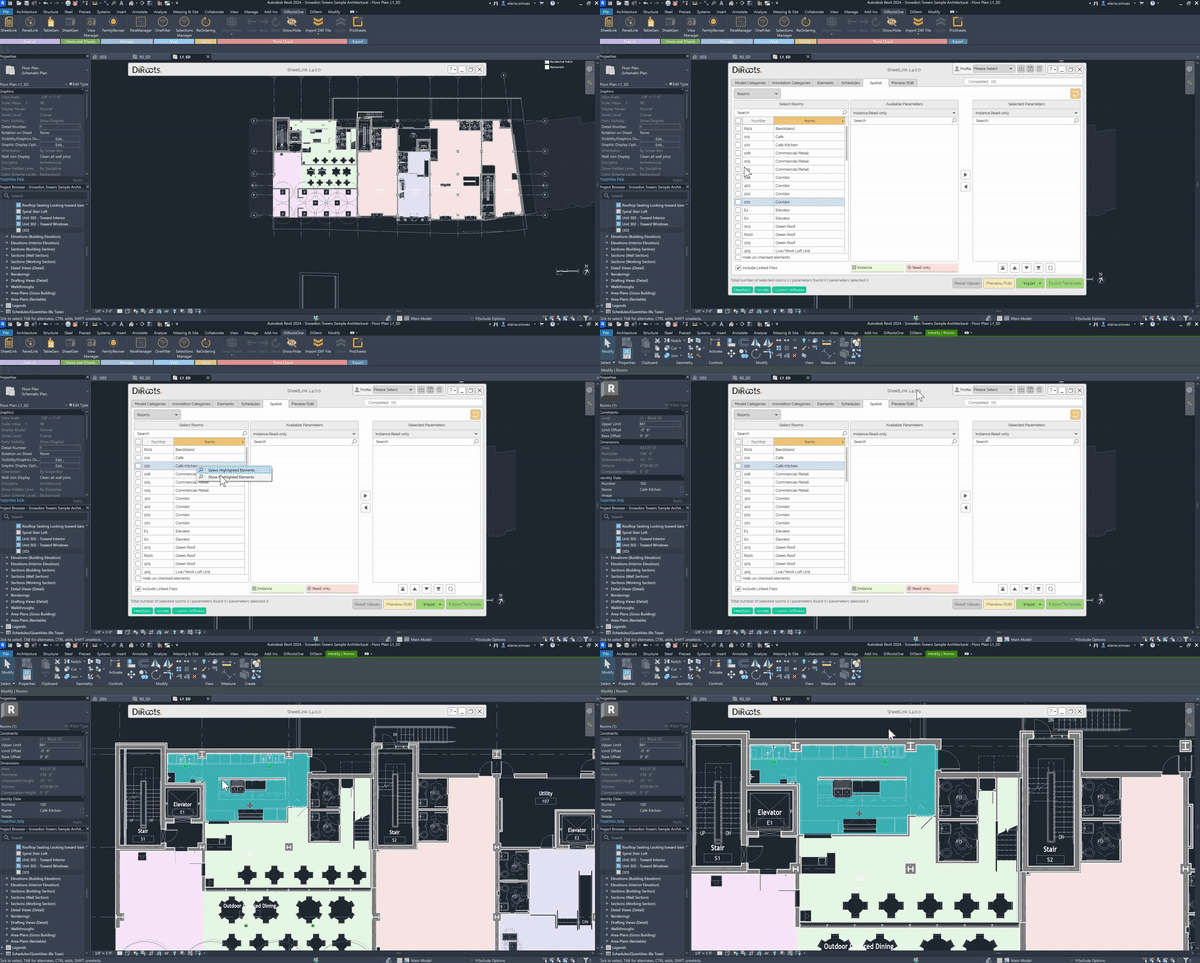
Note: the version on the image may not reflect the latest version of SheetLink/DiRootsOne.
Instance and Read-only
After choosing the Rooms or Spaces, the SheetLink has options to see only the instance and read-only parameters.
Click on the table headers to select the instance parameters, for example.
# Note:
Rooms and Spaces do not have type parameters, so in this case only the instance and read-only options will appear.

```yaml
# Note:
If selected the instance parameters, will show it in the green color.
If selected the read-only parameters, will show it in the red color.
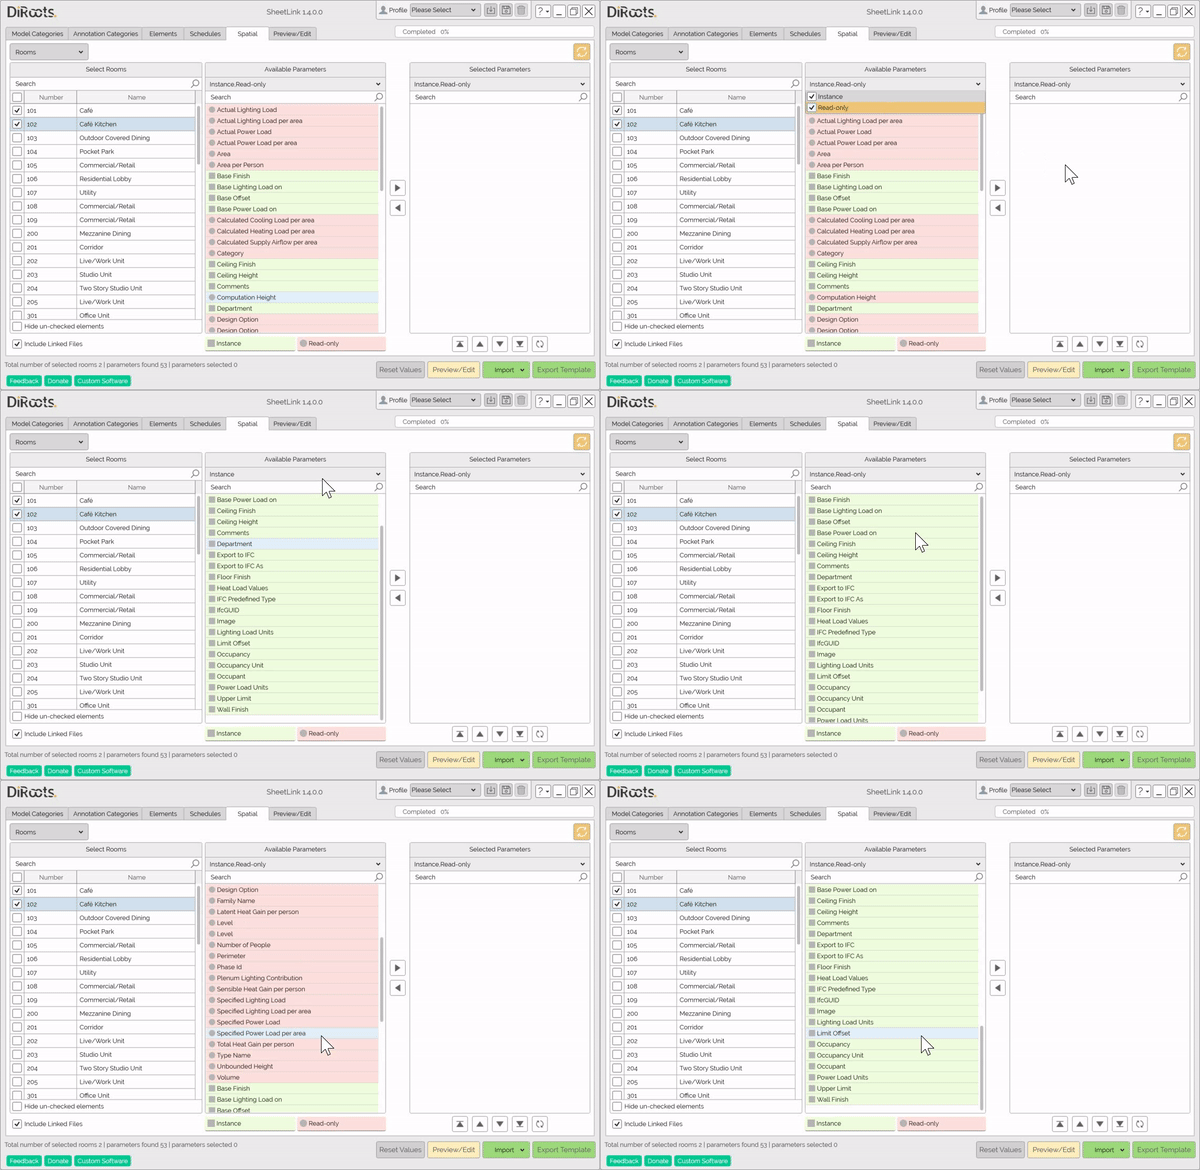
Note: the version on the image may not reflect the latest version of SheetLink/DiRootsOne.
Search Available Parameters
The search box will search for parameters contained in the Available Parameters column.
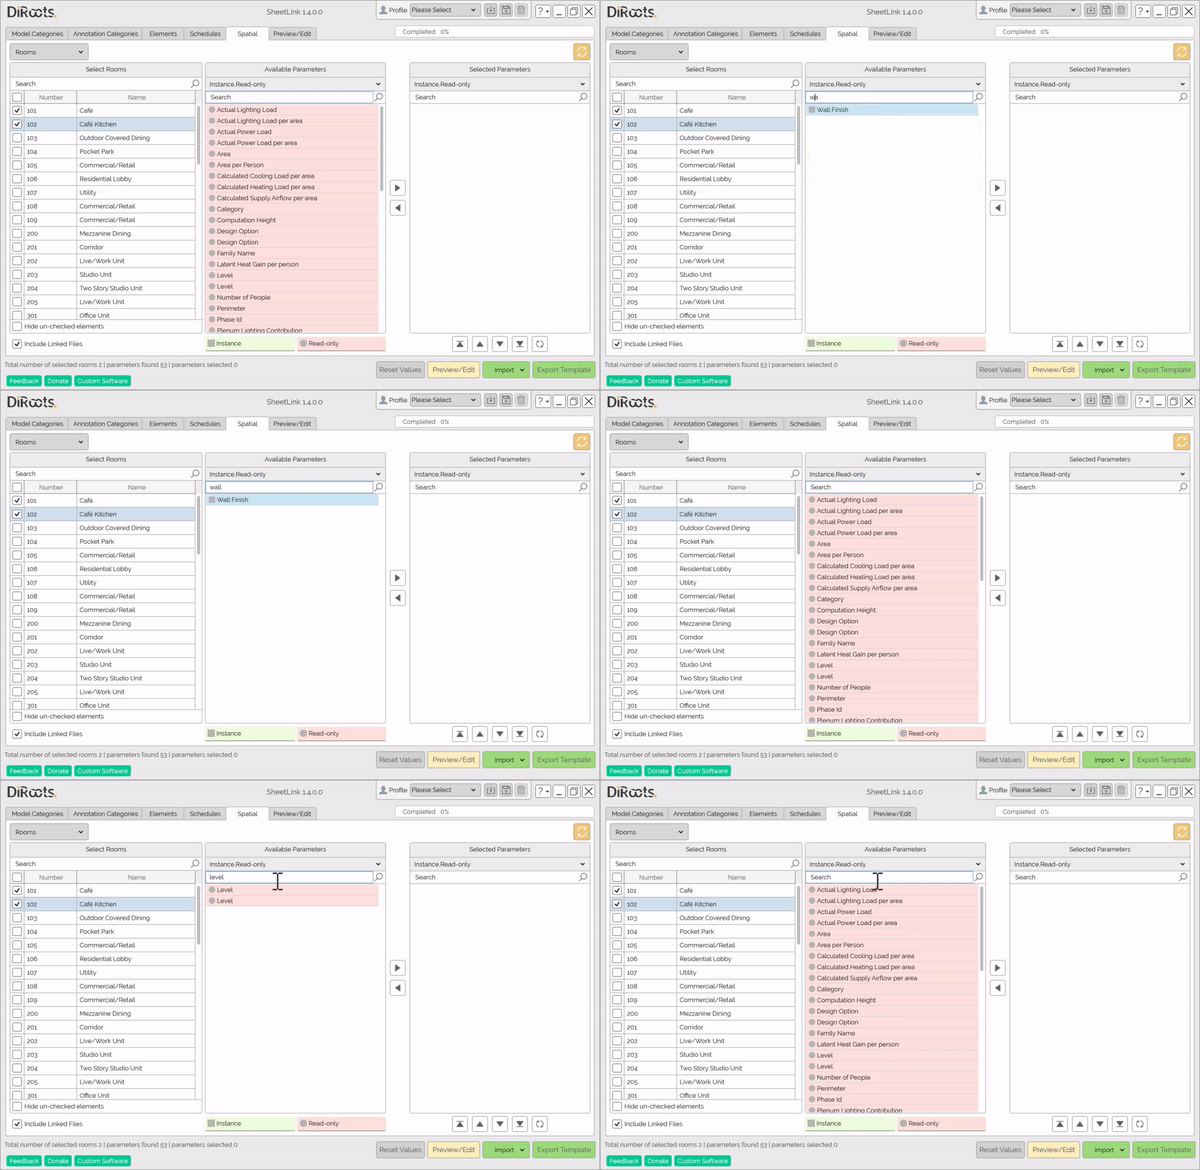
Note: the version on the image may not reflect the latest version of SheetLink/DiRootsOne.
Selected Parameters
Parameter selection:
- Select the parameters in the Available Parameters table.
- Click on the arrows to add or remove from the Selected Parameters table.
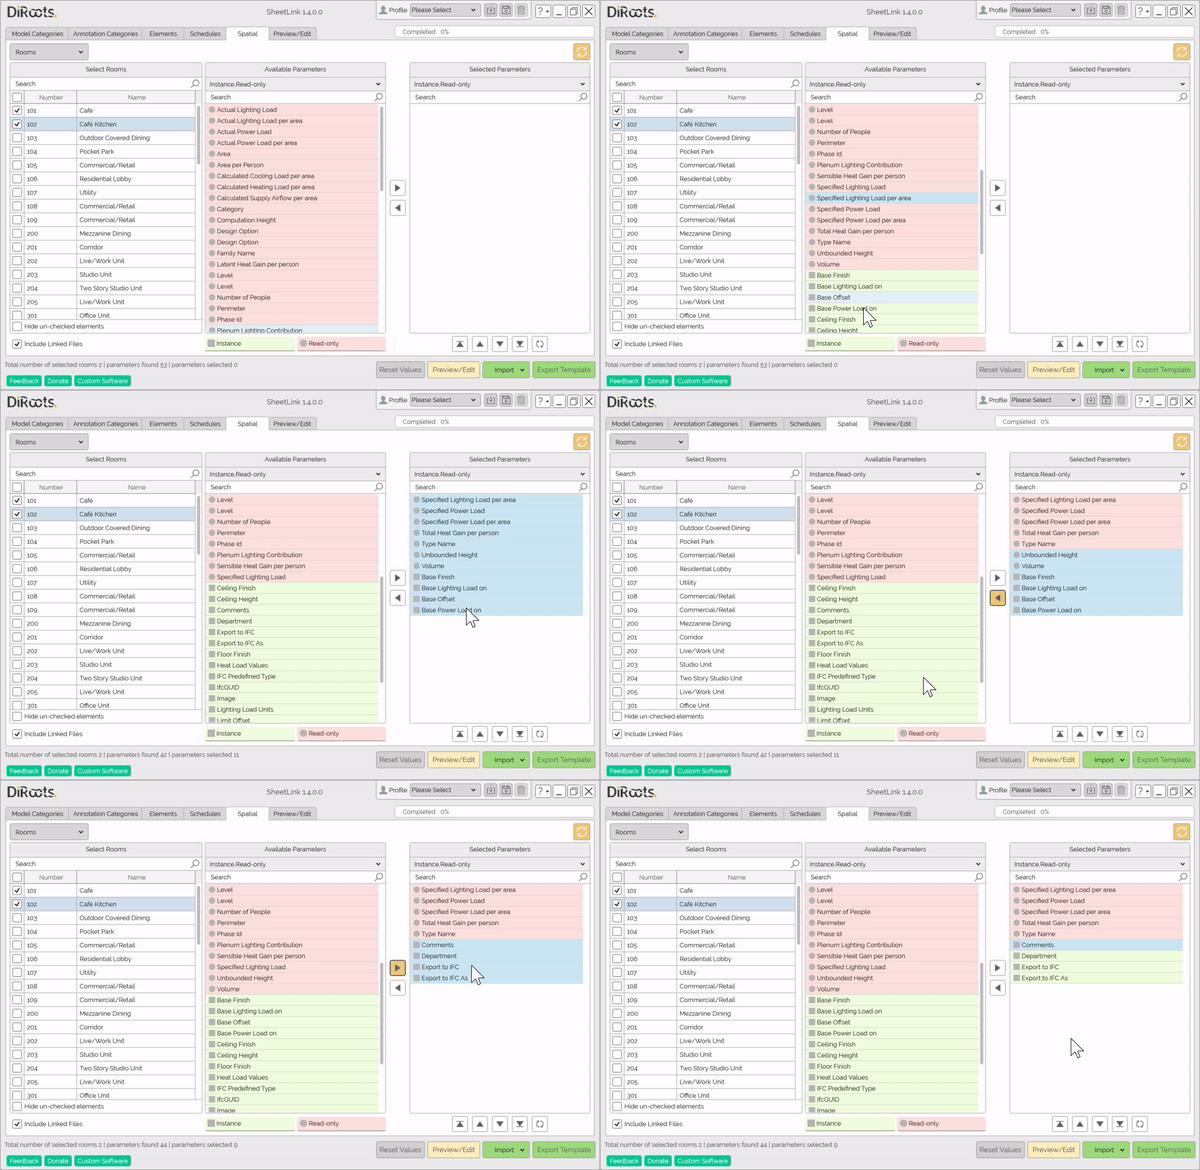
Note: the version on the image may not reflect the latest version of SheetLink/DiRootsOne.
Search Selected Parameters
The search box will search for parameters contained in the Selected Parameters column.
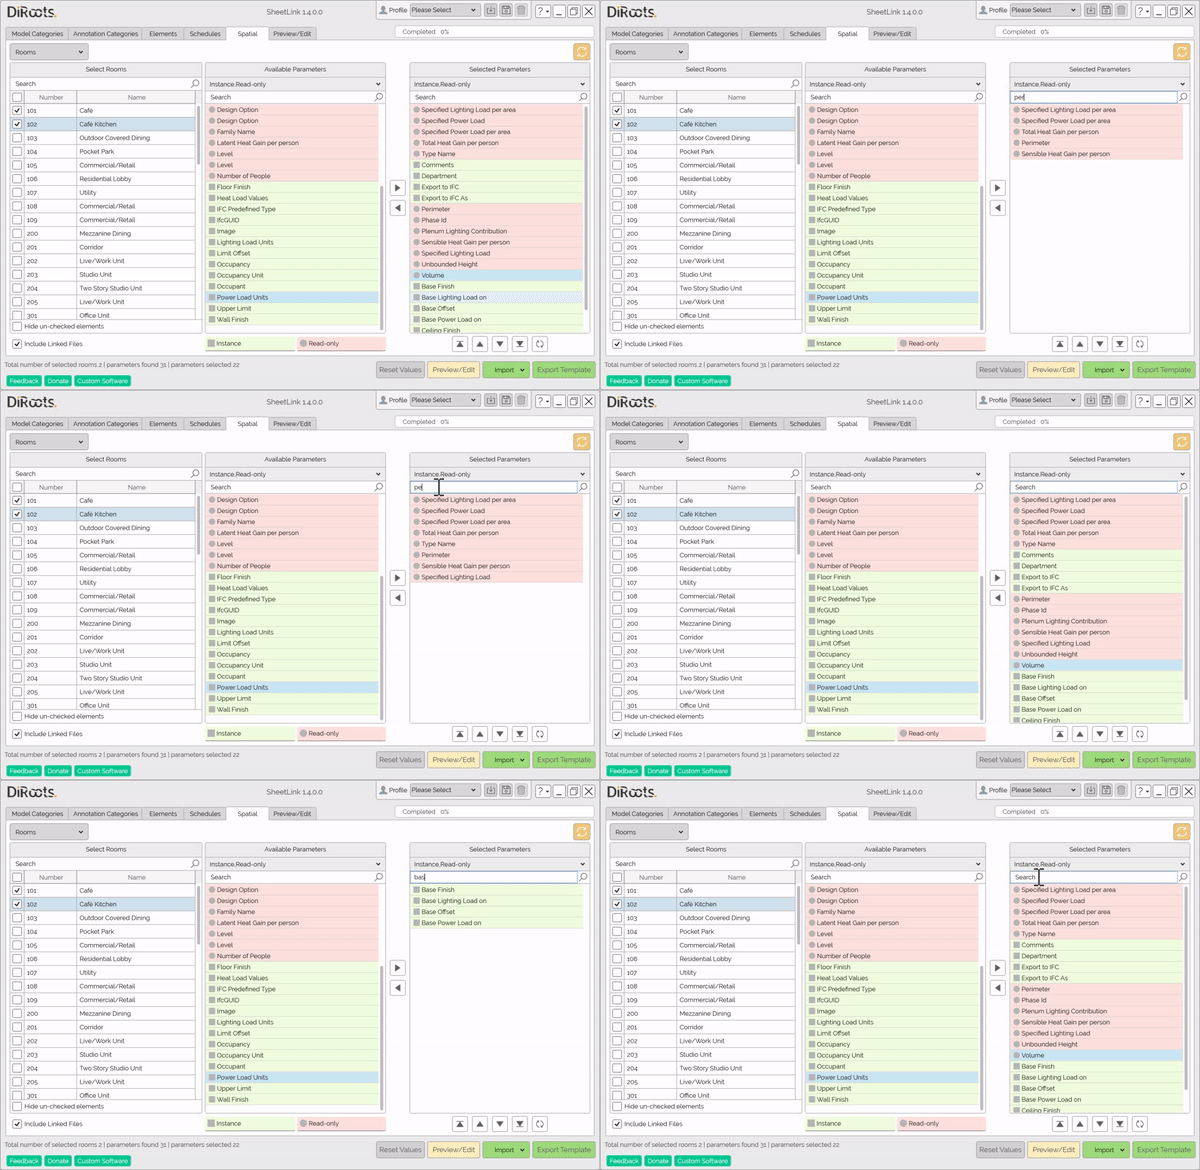
Note: the version on the image may not reflect the latest version of SheetLink/DiRootsOne.
Order the Selected Parameters
Use the arrows above the Selected Parameters table, to sort the parameters to be exported.
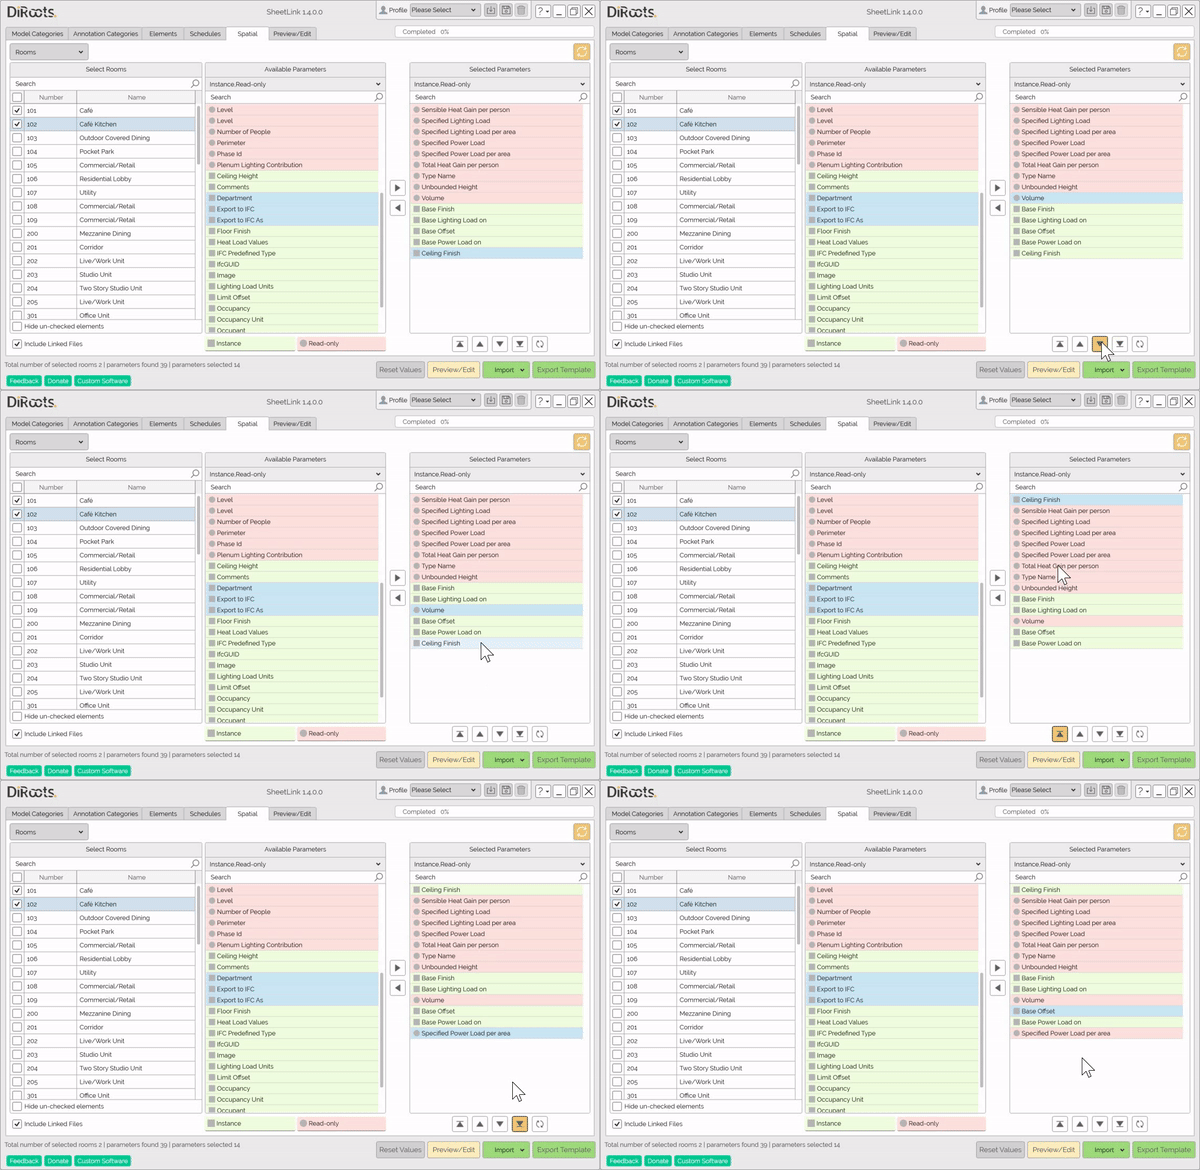
Note: the version on the image may not reflect the latest version of SheetLink/DiRootsOne.
Reset Values
Select the Reset Values button to clear all the available parameters and selected parameters.
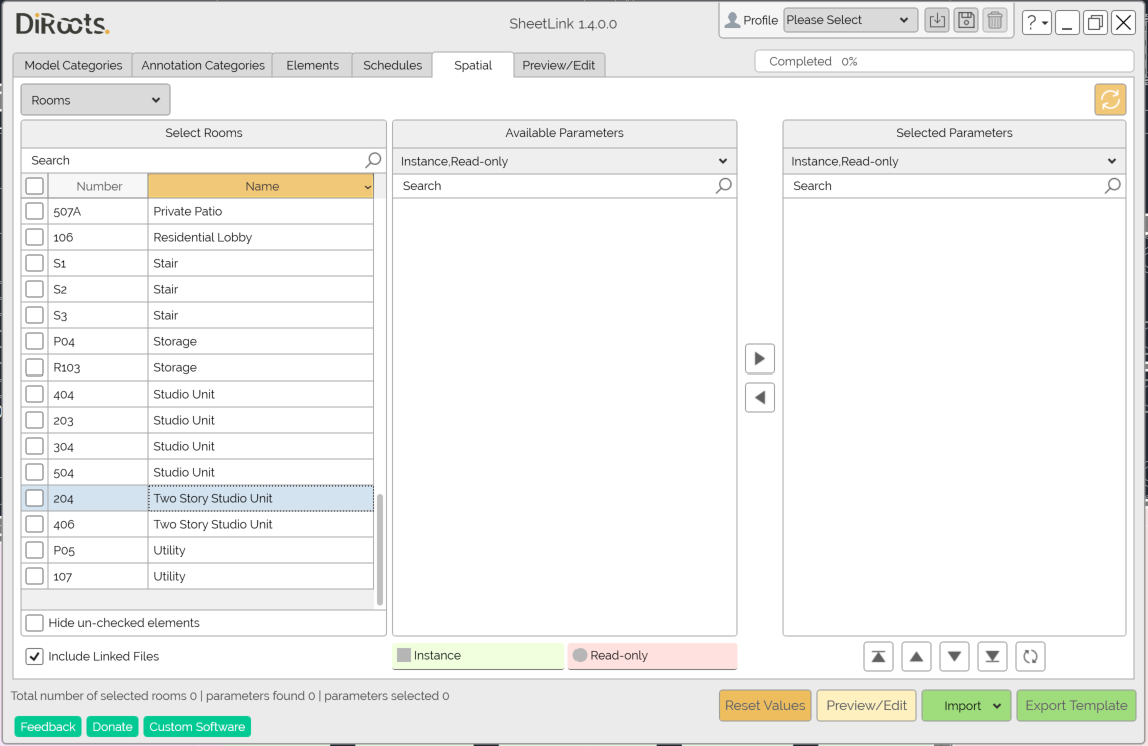
Note: the version on the image may not reflect the latest version of SheetLink/DiRootsOne.
Preview/Edit
Click to preview and to edit the sheet before exporting it. 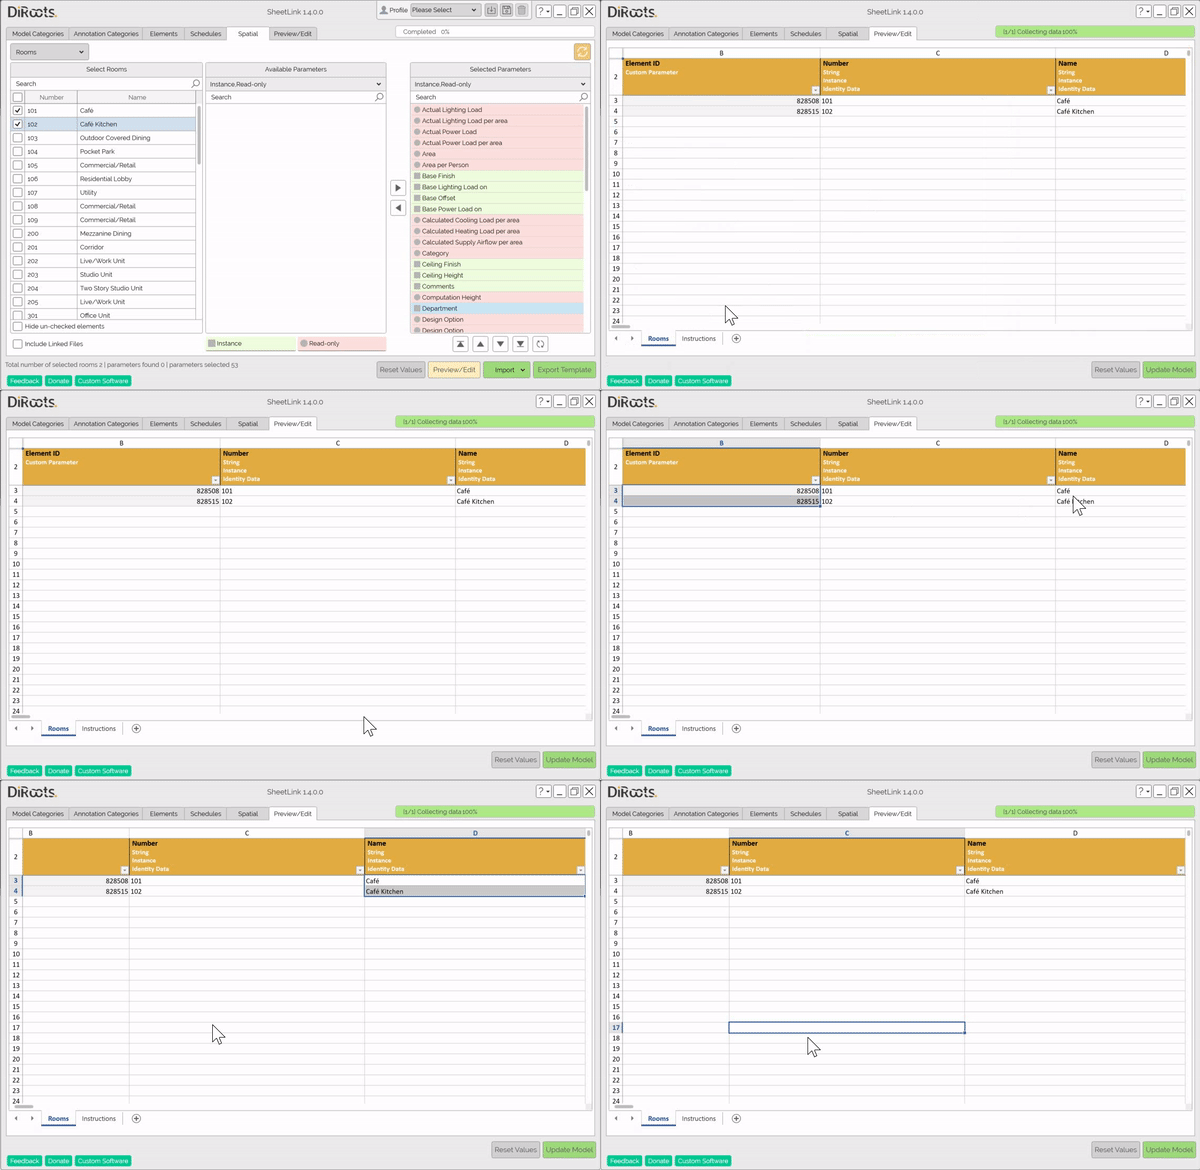
Note: the version on the image may not reflect the latest version of SheetLink/DiRootsOne.
Export
Click to export the sheet to Google Drive or Excel.
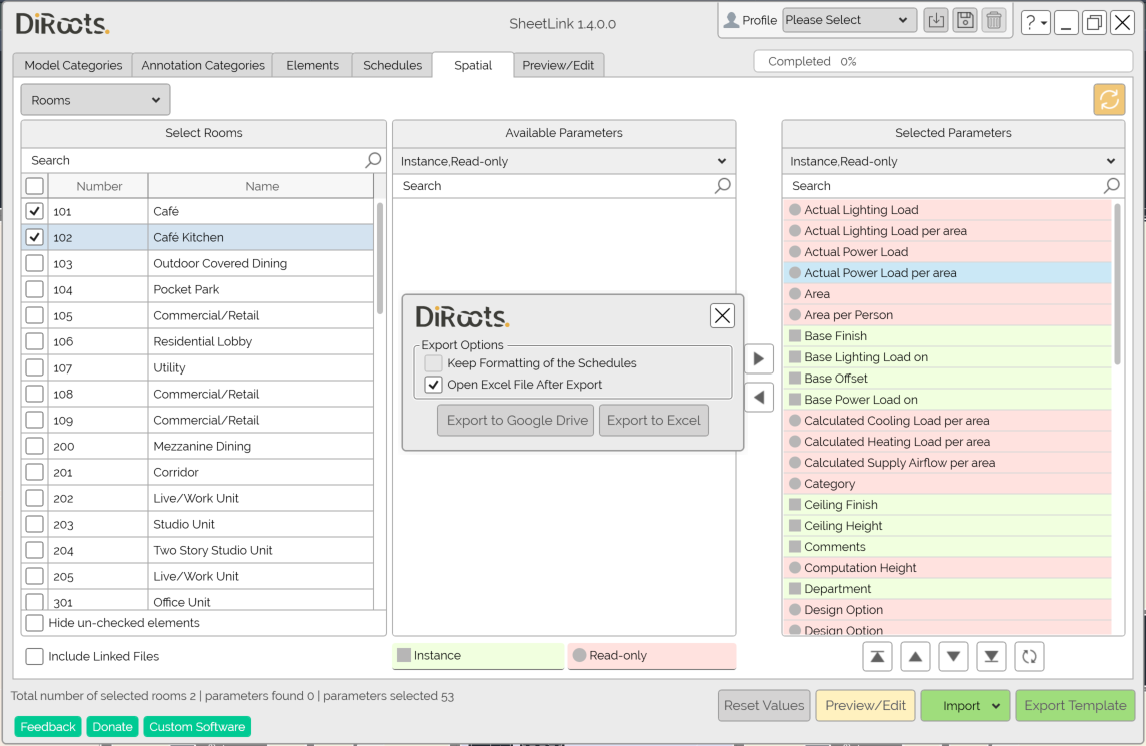
Note: the version on the image may not reflect the latest version of SheetLink/DiRootsOne.
The Excel file is editable and after the editing of it you can import through SheetLink. The Spacial SheetLink allows you to create more rooms on Excel file exported, or export an empty Excel file template, to create rooms.
Caution, open the Instruction tab on Excel file to get the colors legend and other information.
# Note:
Yellow: Type Value.
Red: Read-only Value. This fields can not be edited.
Grey: Parameter does not exist for this element.
# Note:
To create new Rooms or Spaces you should add new rows of information. Provide a minimum of Number, Name, and Phase parameter values to create correctly Rooms and Spaces. Please don’t input values to the GUID(hidden) and Element ID columns for new rows. Revit will automatically assign GUID and Element ID when elements are created.
Follow the example below. 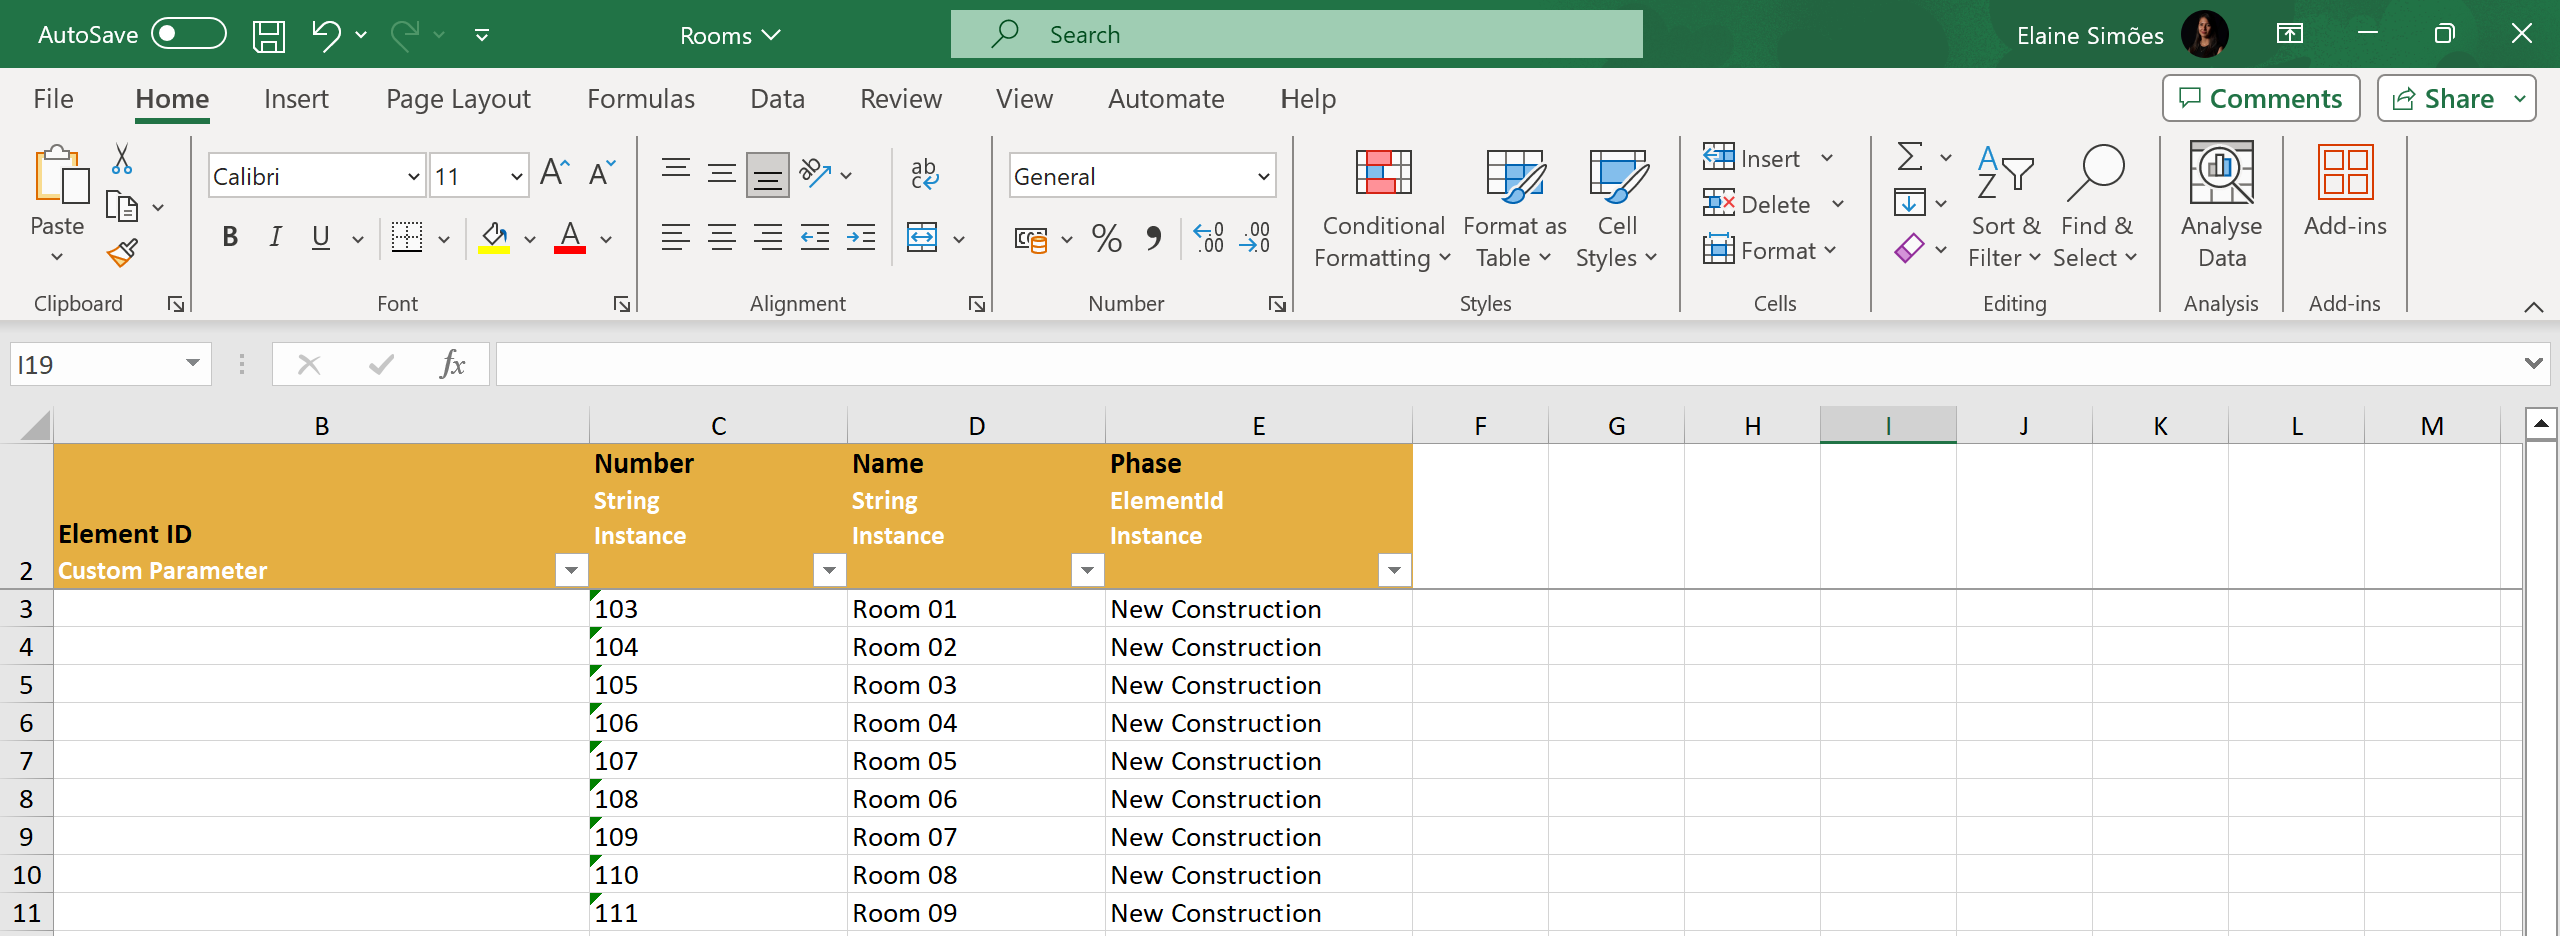
Note: the version on the image may not reflect the latest version of SheetLink/DiRootsOne.
Import
If you have made any edits to the file, import it and update the schedules in Revit. Before importing the file, you can preview the sheet to make sure, and then complete the import.
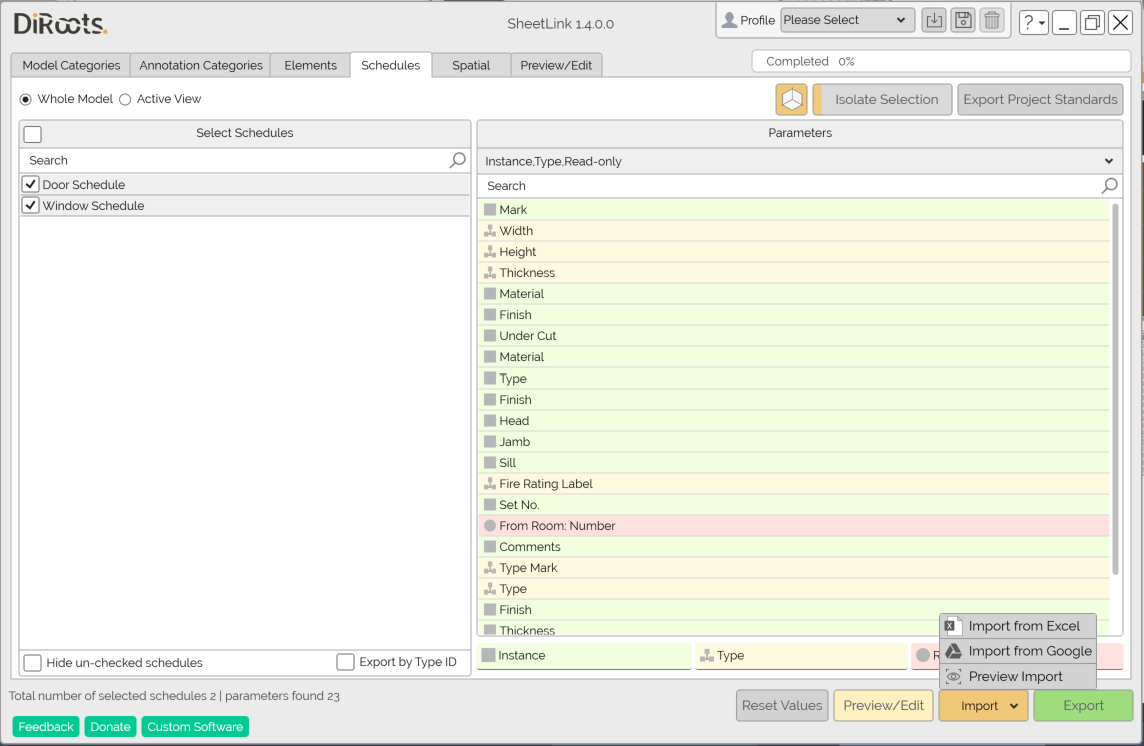
Note: the version on the image may not reflect the latest version of SheetLink/DiRootsOne.
# Note:
- Import file from Google Drive or from Excel.
- Track the file import progress bar.
Note if you have created rooms or spaces in the Excel file, these will be created on Revit and can now be assigned to the model.
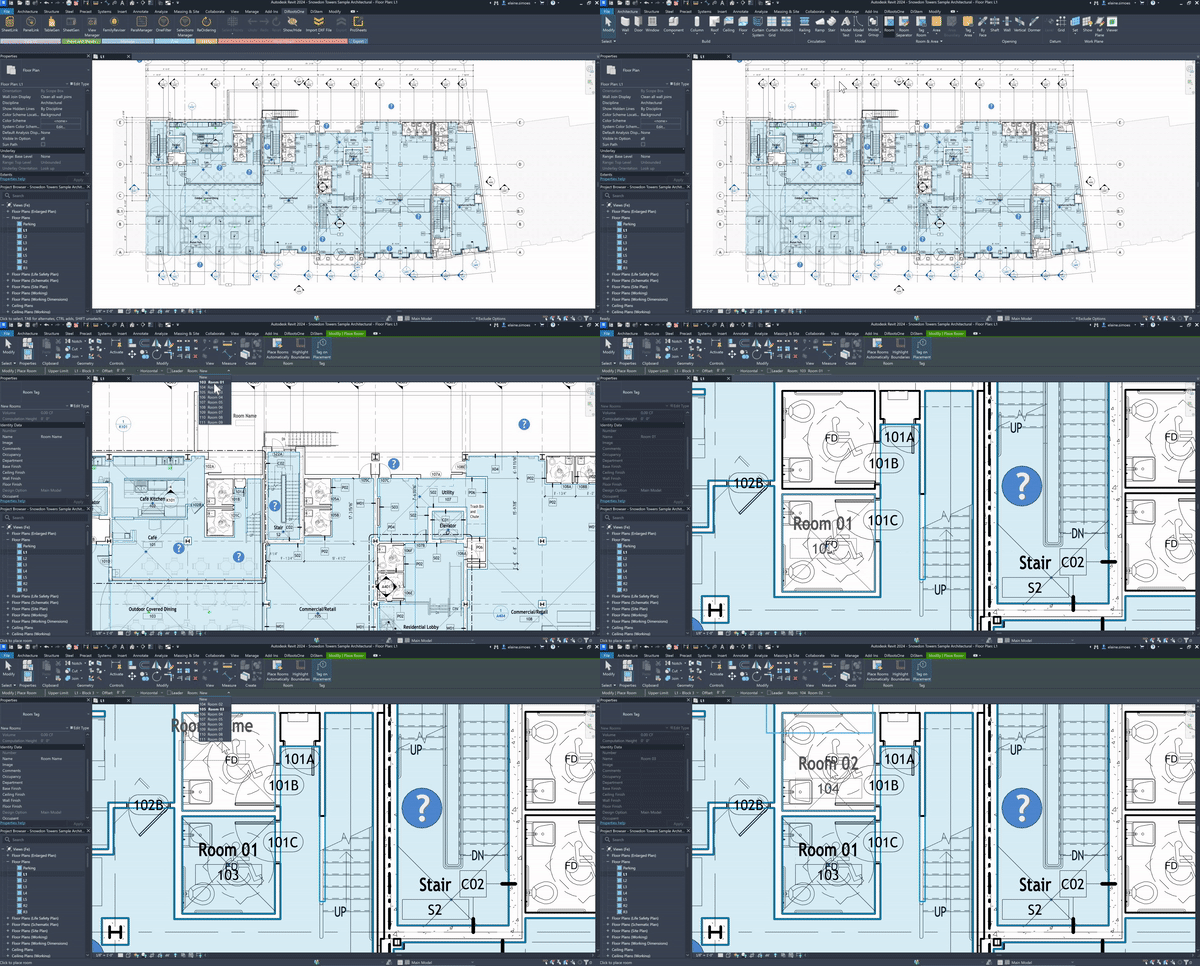
Note: the version on the image may not reflect the latest version of SheetLink/DiRootsOne.
If you want to find out more about SheetLink and explore detailed tutorials on how to use it, visit our YouTube channel. There, you’ll find a series of videos that can help answer questions and improve your knowledge. Be sure to check it out and subscribe to keep up to date with our news and tips!