SheetLink
Export your Revit model data (by categories, elements, schedules) to Excel and Google Sheets. Edit the data and import it back to update the model.
Table of contents
Model Categories
The first step is to select the SheetLink from the DiRootsOne menu and to choose the Model Categories tab.
Steps:
- Click on the radio buttons to switch between Whole Model, Active View or Current Selection to choose the categories.
The 'Whole Model' radio button will show the all existing model categories.
The 'Active View' radio button will show the existing categories in the current view.
The 'Current Selection' radio button will show the existing categories in the current selection.
- Use the checkboxes above the table to select to Include Linked Files and to Export by Type ID.
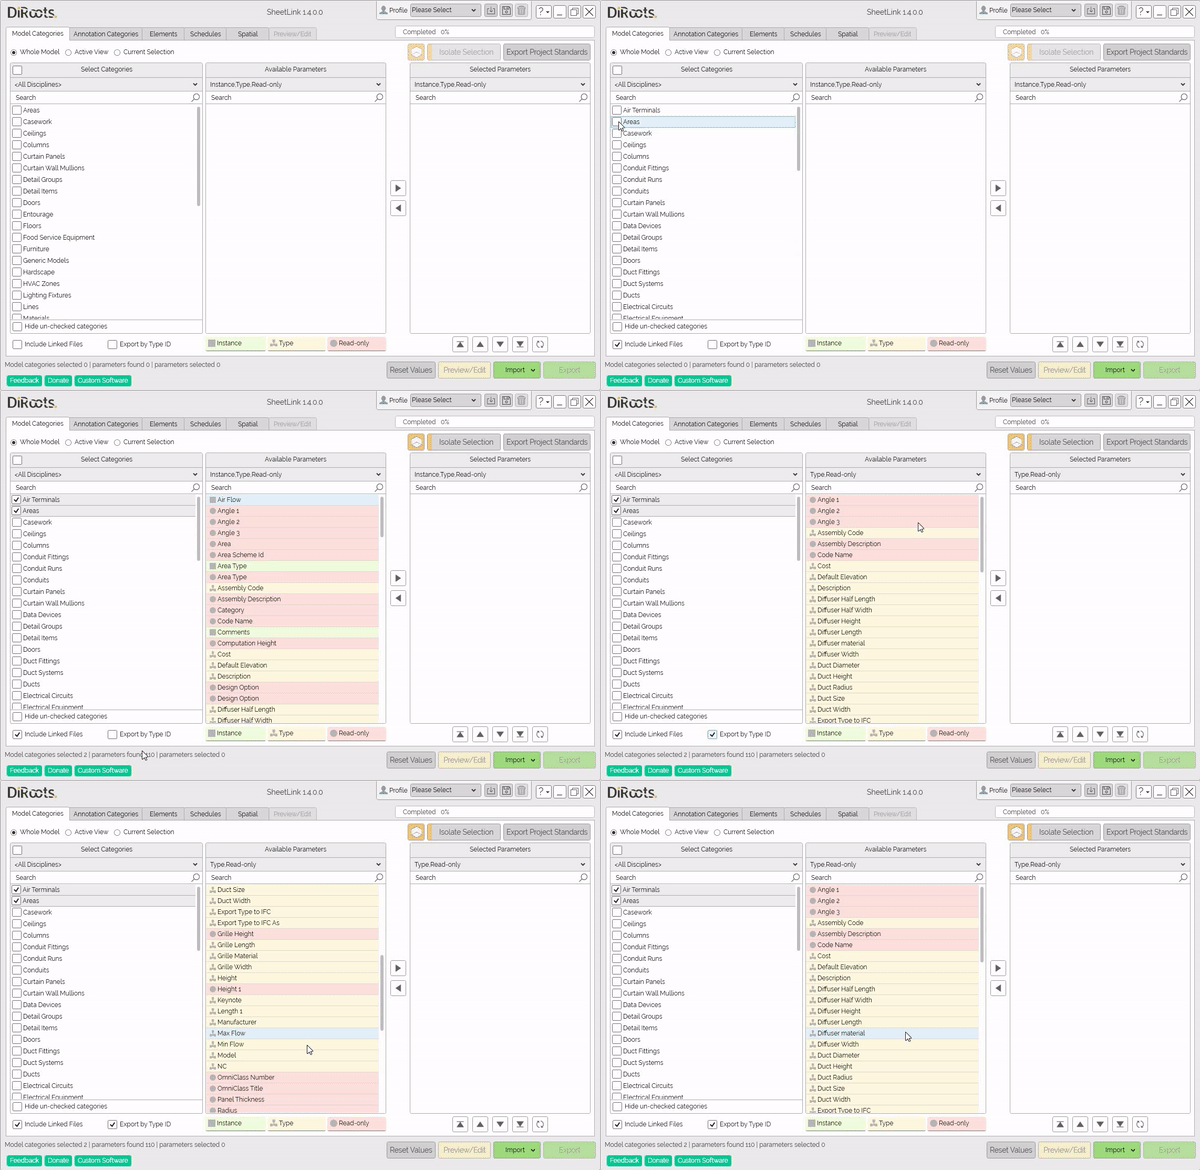
Note: the version on the image may not reflect the latest version of SheetLink/DiRootsOne.
- Use the checkboxes to select specific categories, or use the checkbox in the table header to select all categories.
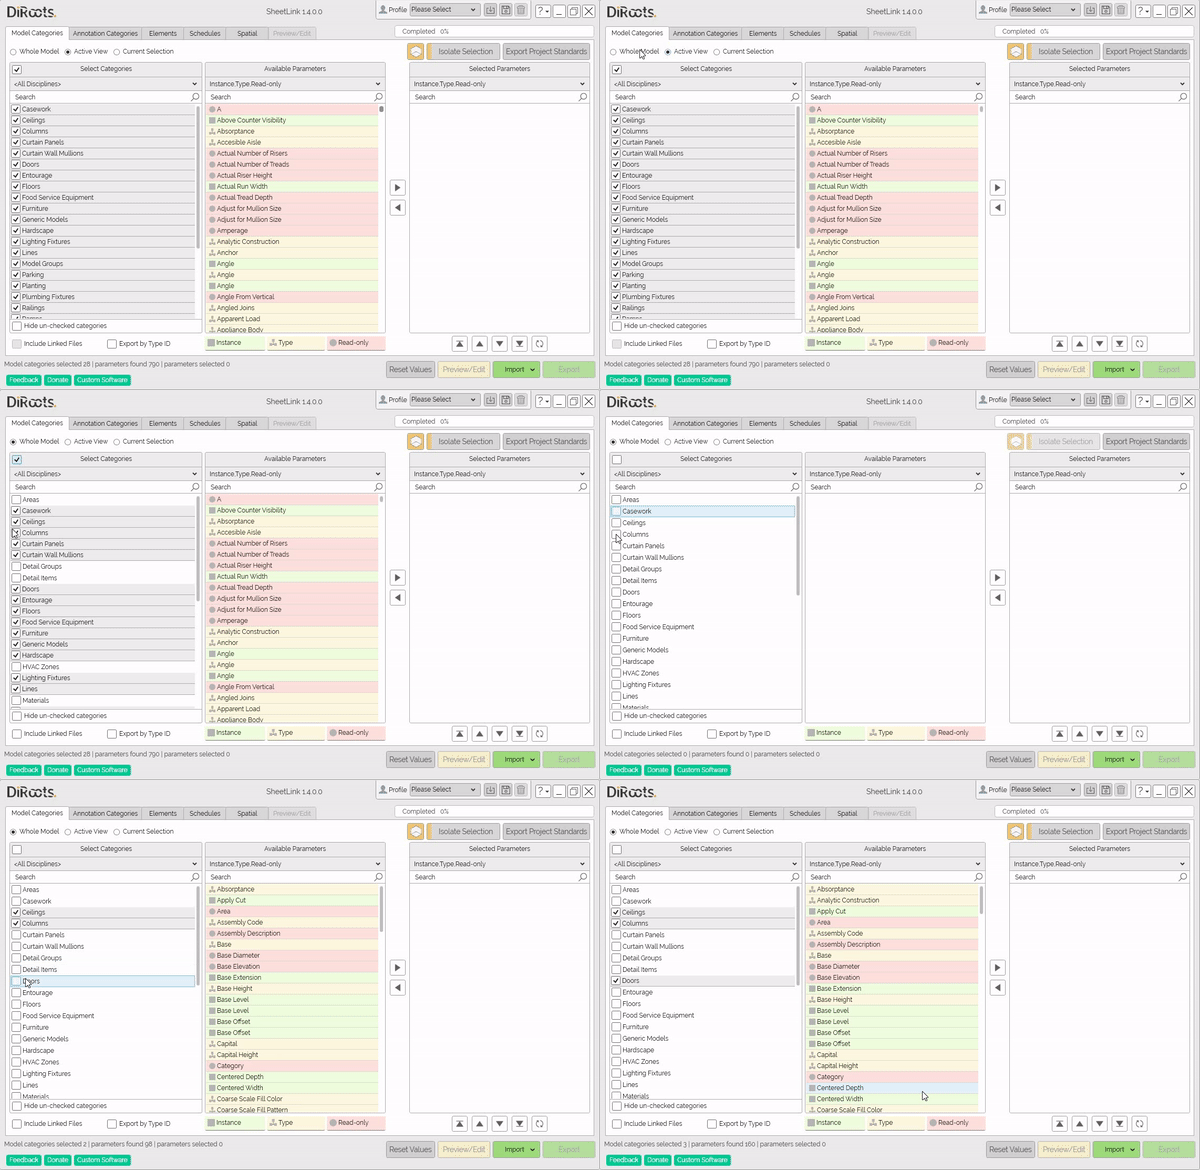
Note: the version on the image may not reflect the latest version of SheetLink/DiRootsOne.
Search Categories
The search box will search for categories contained in the Select Categories column.
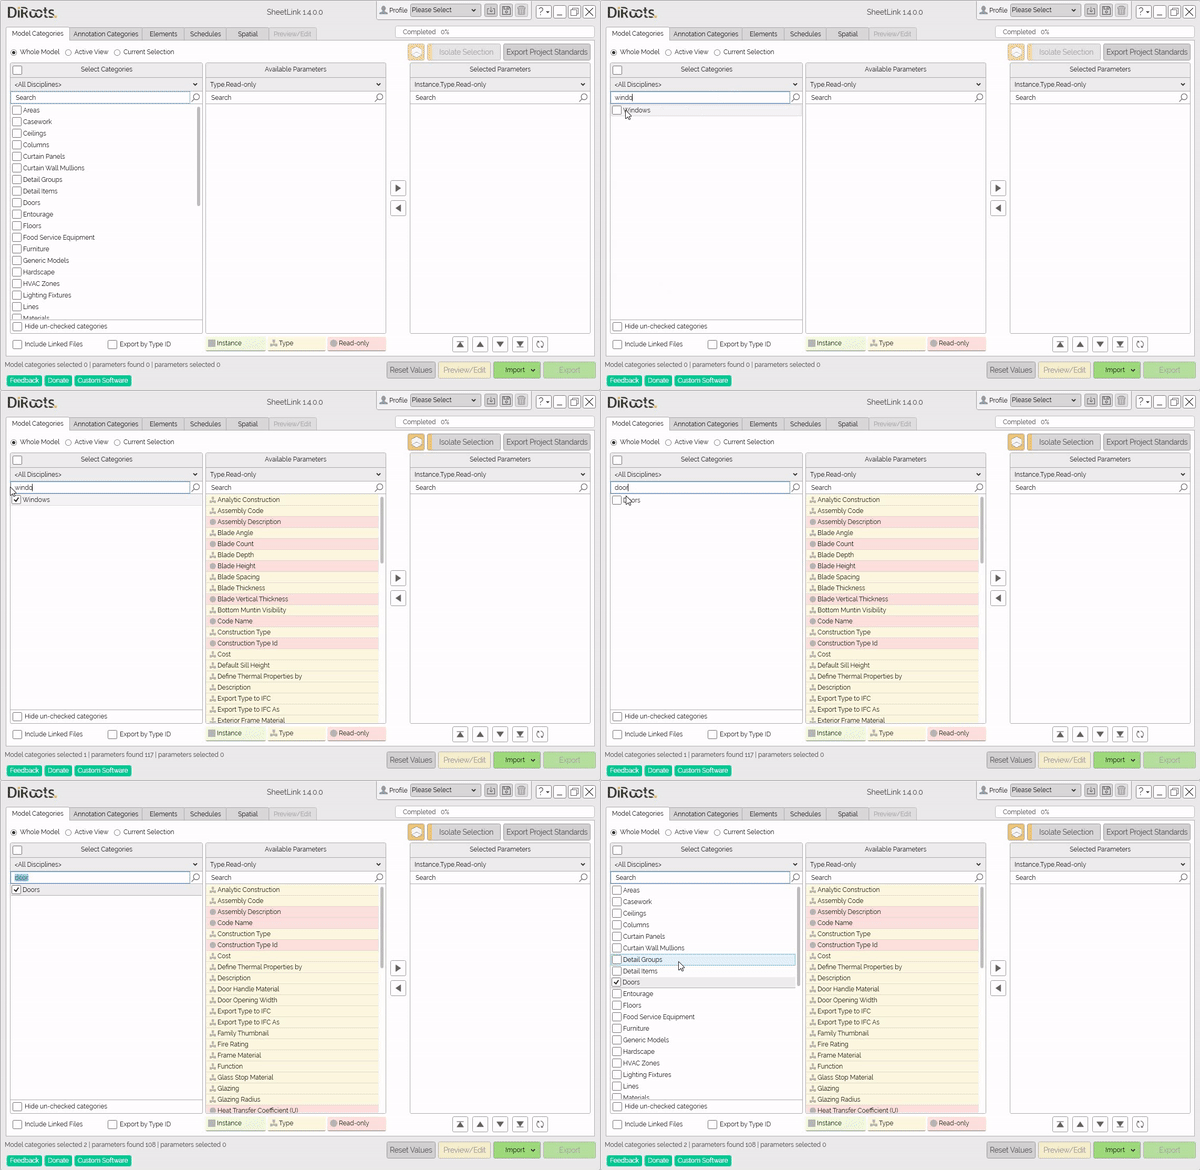
Note: the version on the image may not reflect the latest version of SheetLink/DiRootsOne.
Instance, Type and Read-only
After choosing the categories, the SheetLink has options to view instance, type and read-only parameters.
Click on the table headers to select the instance parameters.
# Note:
If selected, the instance parameters, will shown it in the green.
If selected the type parameters, will be shown it in the yellow.
If selected the read-only parameters, will be shown in the red.
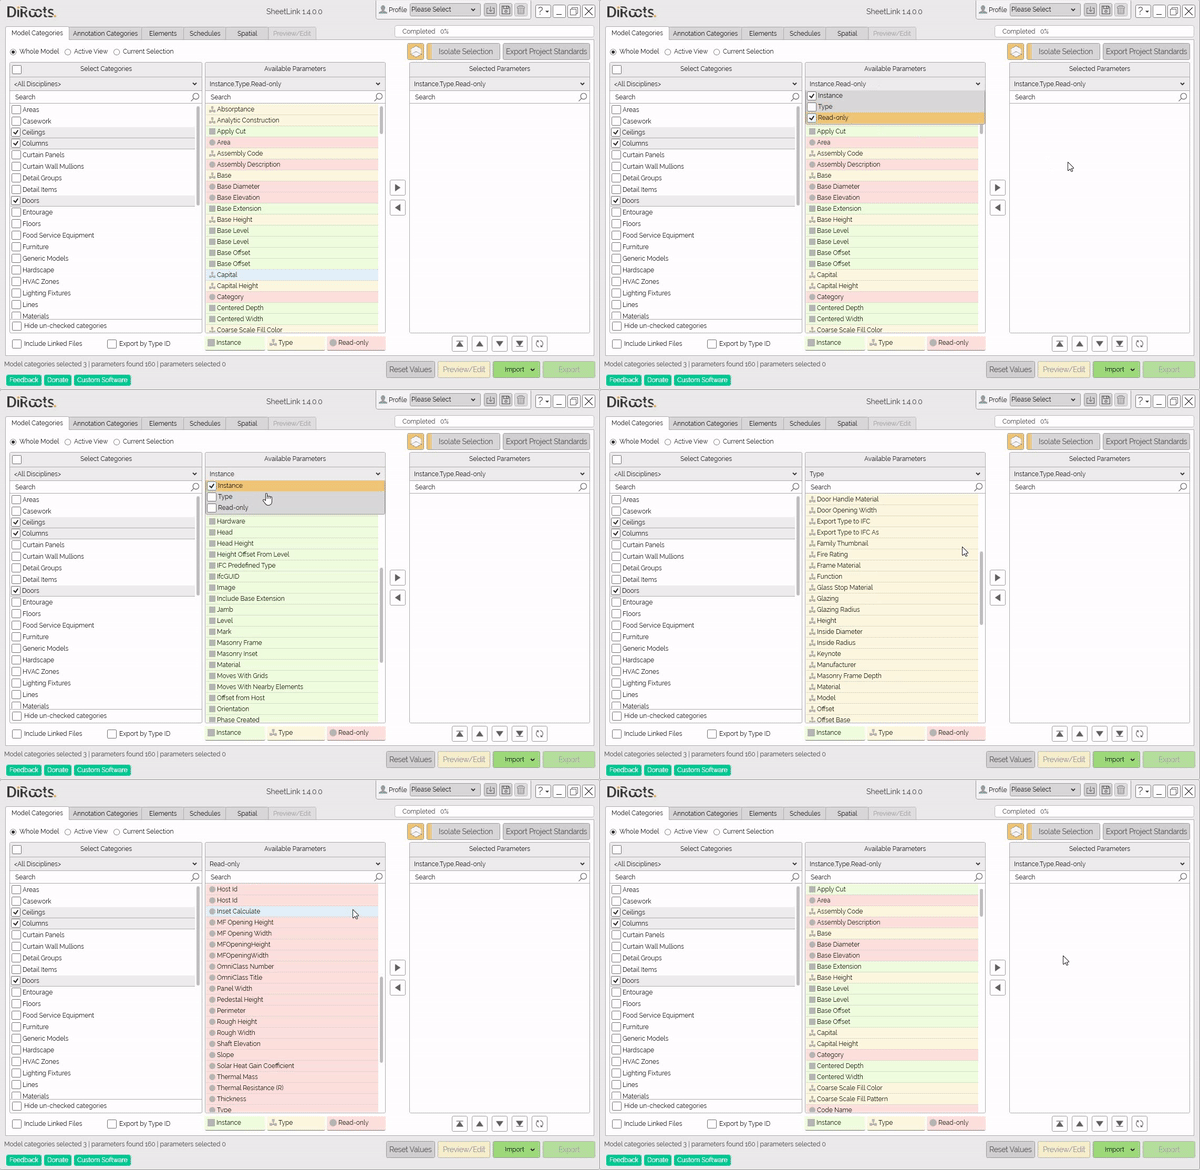
Note: the version on the image may not reflect the latest version of SheetLink/DiRootsOne.
Search Available Parameters
The search box will search for parameters contained in the Available Parameters column.
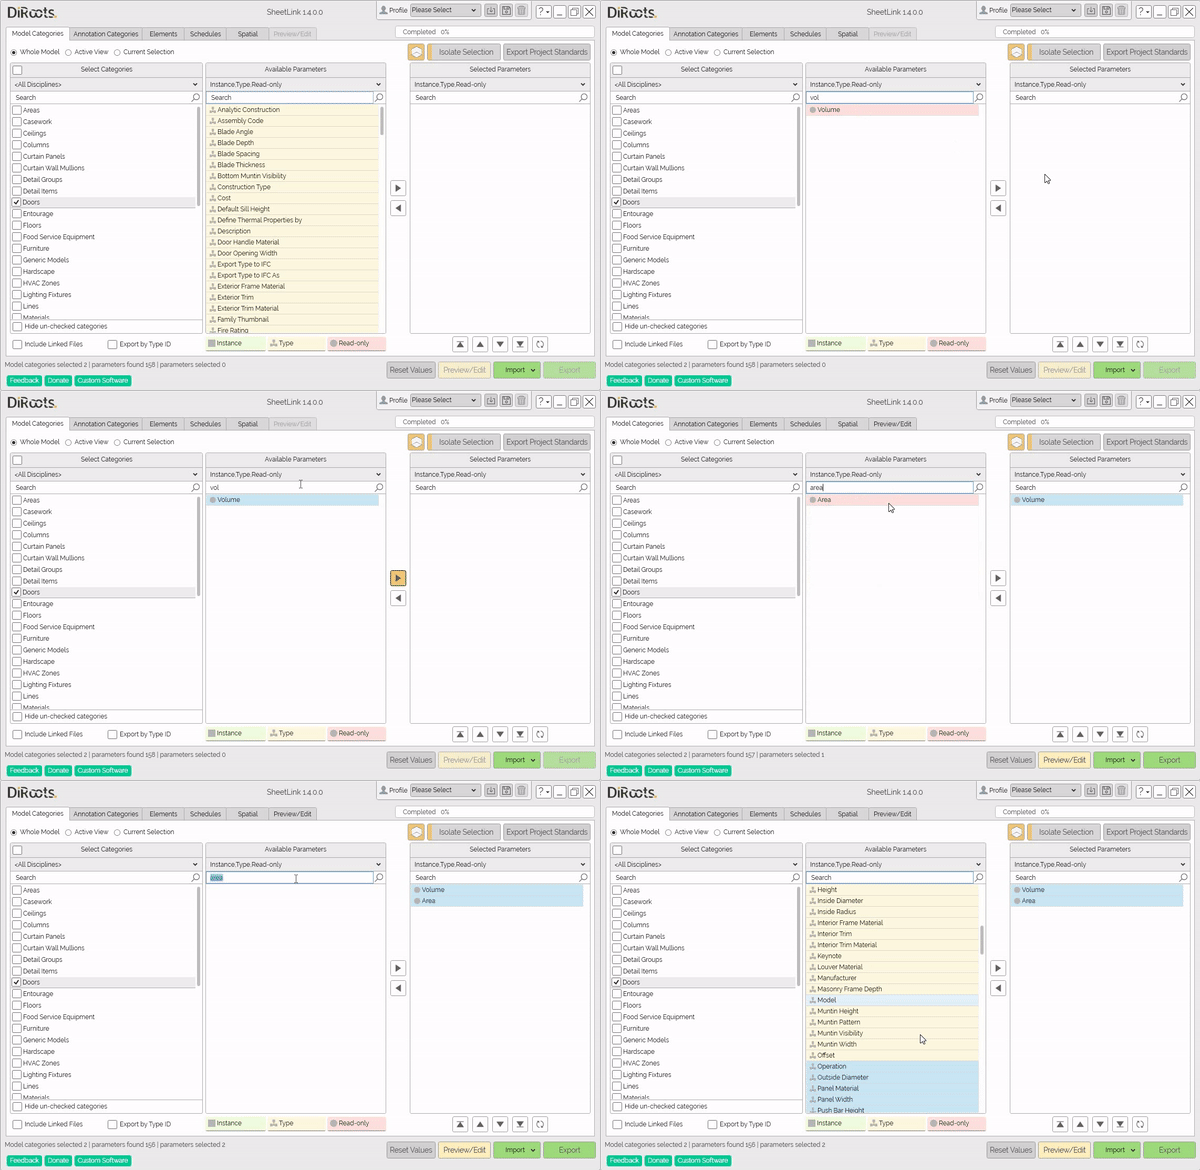
Note: the version on the image may not reflect the latest version of SheetLink/DiRootsOne.
Selected Parameters
Parameters selection:
- Select the parameters in the Available Parameters table.
- Click on the arrows to add or remove from the Selected Parameters table.
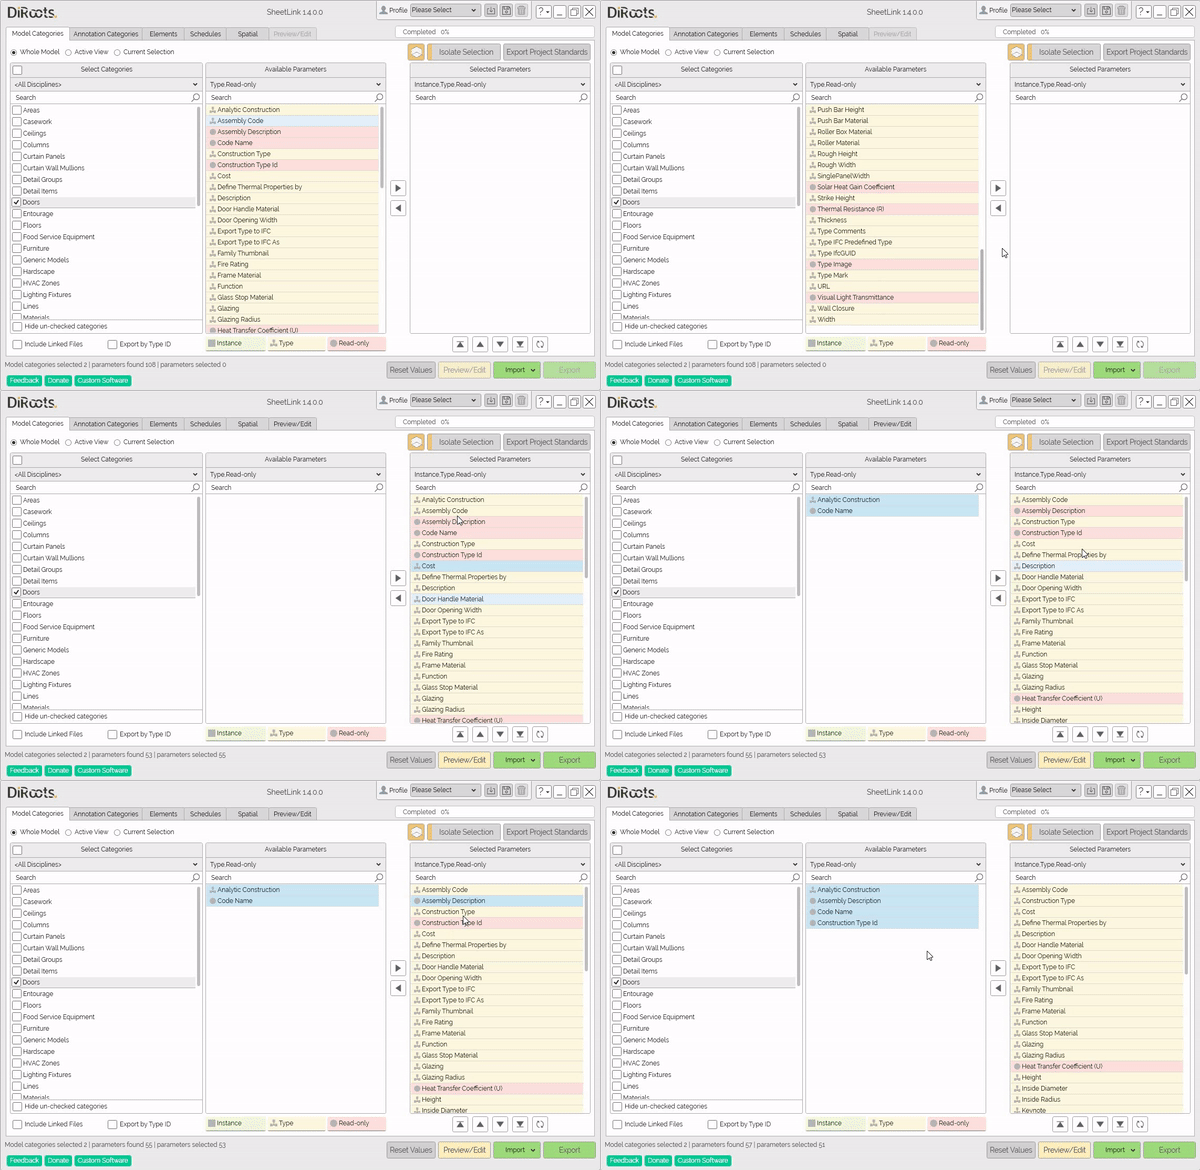
Note: the version on the image may not reflect the latest version of SheetLink/DiRootsOne.
Search Selected Parameters
The search box will search for parameters contained in the Selected Parameters column.
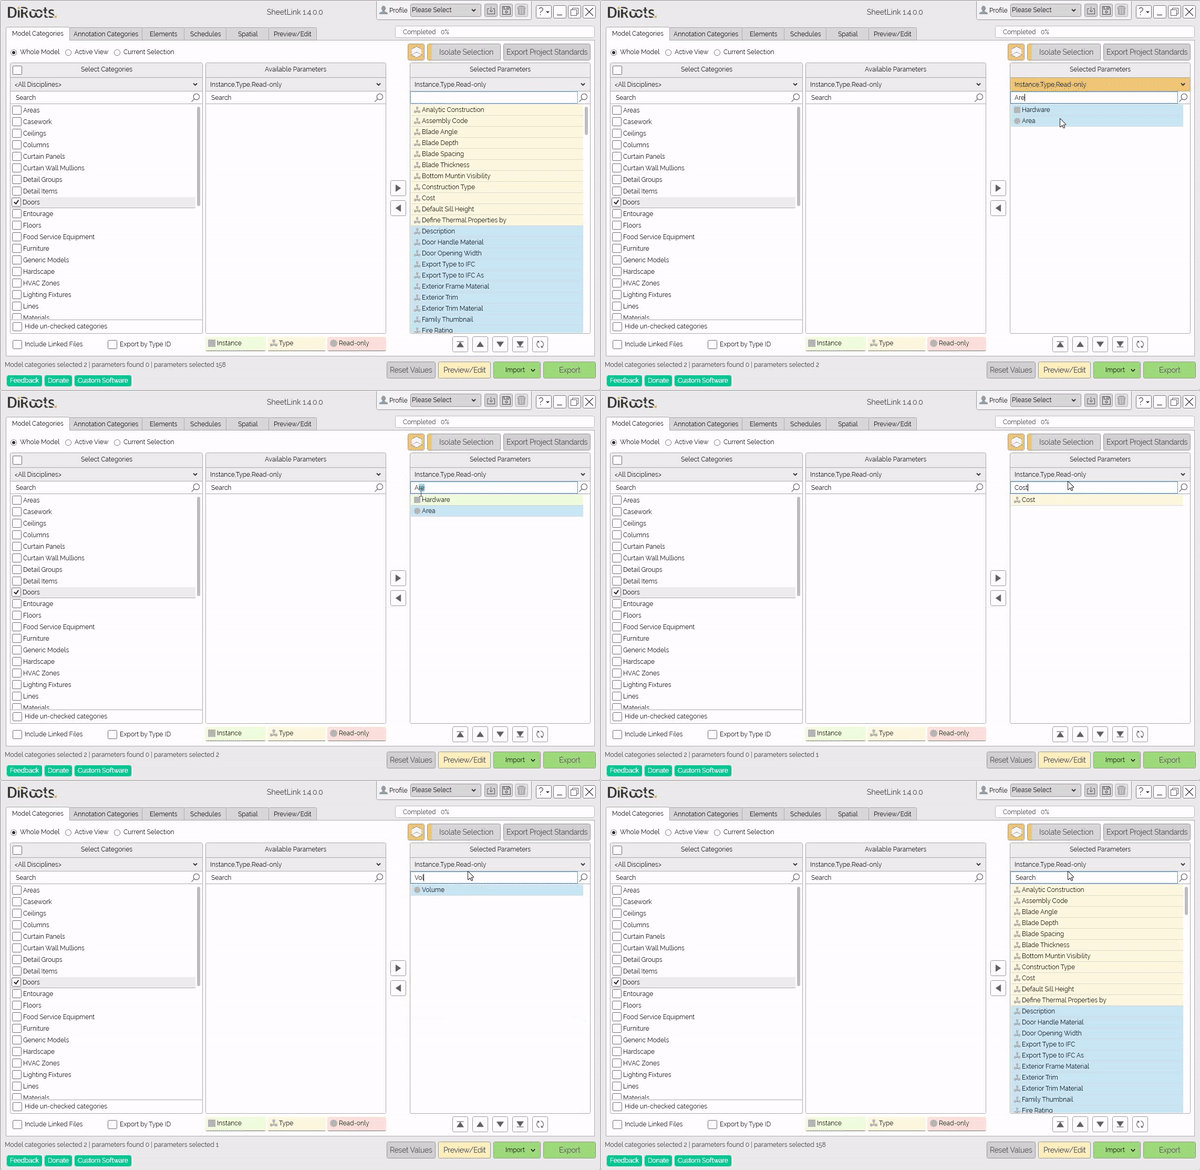
Note: the version on the image may not reflect the latest version of SheetLink/DiRootsOne.
Order the Selected Parameters
Use the arrows above the Selected Parameters table, to sort the parameters to be exported.
Note: the version on the image may not reflect the latest version of SheetLink/DiRootsOne.
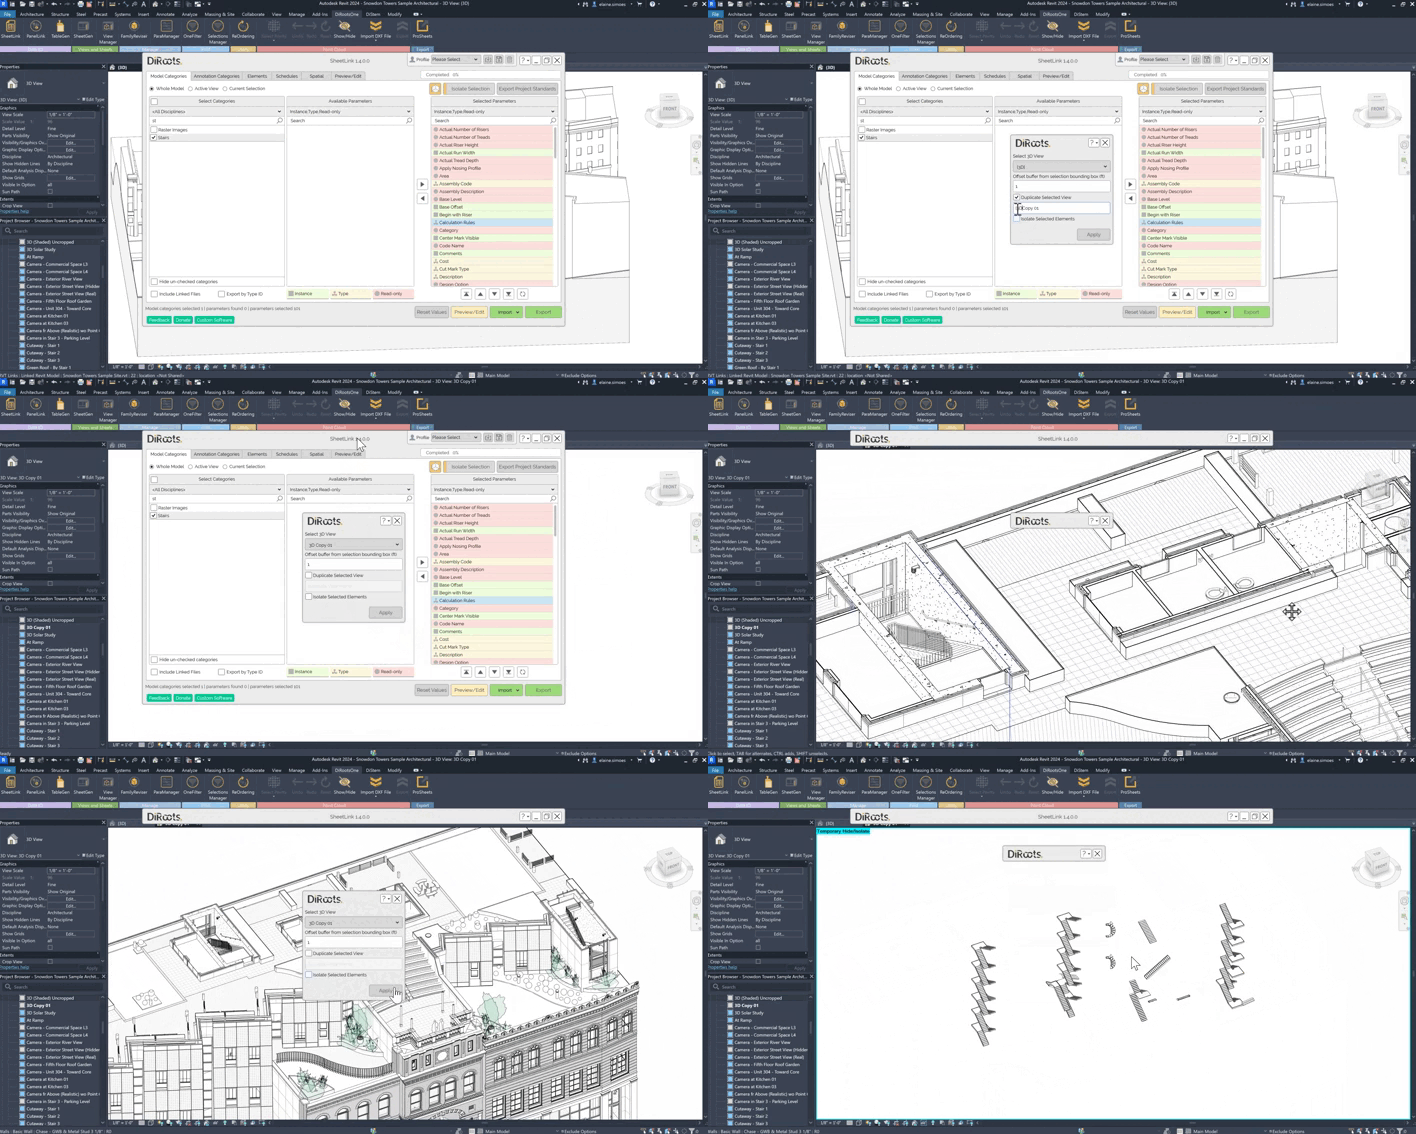
Filter elements within a section box
You have the ability to use existing or to duplicate 3D View. Visualize only filtered elements or all elements within Section Box, with ability to define offset from marked elements.
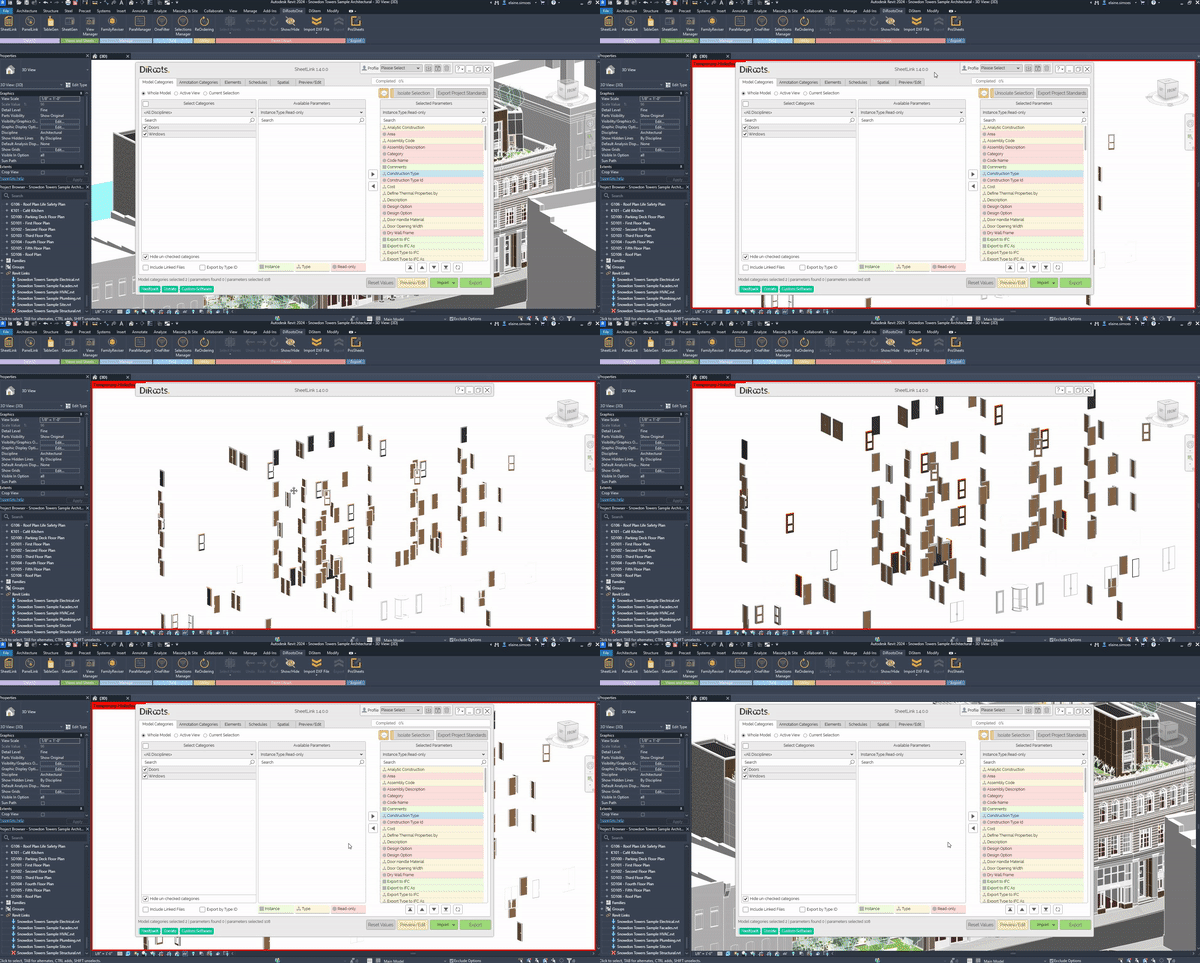
Note: the version on the image may not reflect the latest version of SheetLink/DiRootsOne.
Isolate Selection
The Isolate Selection button allows you to filter the selected categories in a Temporary View (Hide/Isolate).

Note: the version on the image may not reflect the latest version of SheetLink/DiRootsOne.
Export Project Standards
The Export Project Standards button allows you to export the main data about the project to Excel or Google Drive. The data to be exported is the Project Information, Object Styles, Line Styles and Families.
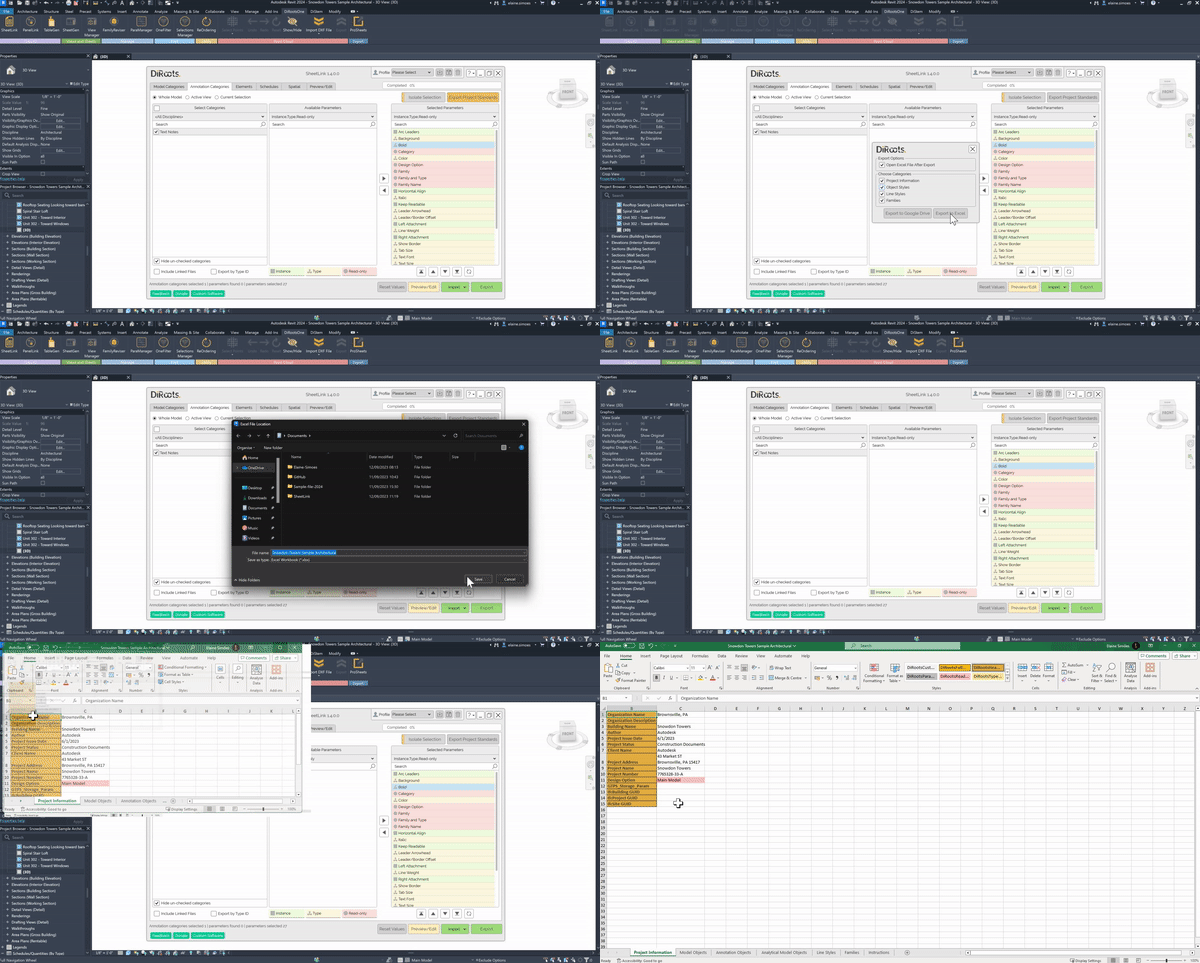
Note: the version on the image may not reflect the latest version of SheetLink/DiRootsOne.
Import Project Standards file
You can also edit some Project Information and import to update the current model.
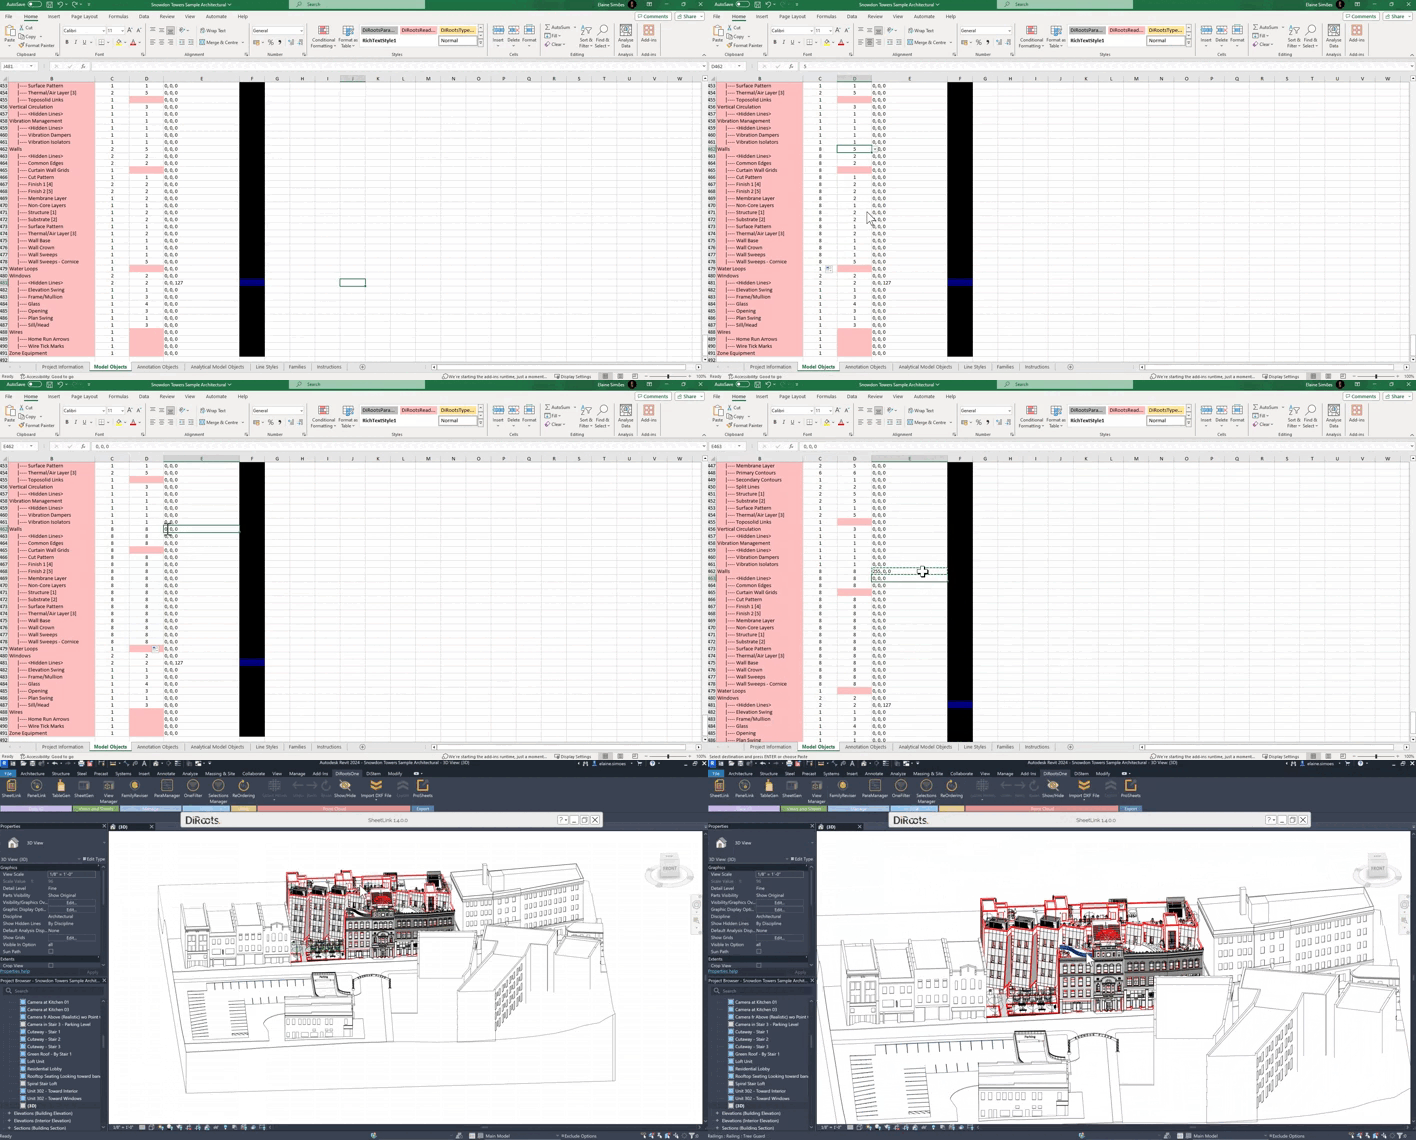
Note: the version on the image may not reflect the latest version of SheetLink/DiRootsOne.
Reset Values
Select the Reset Values button to clear all available and selected parameters.
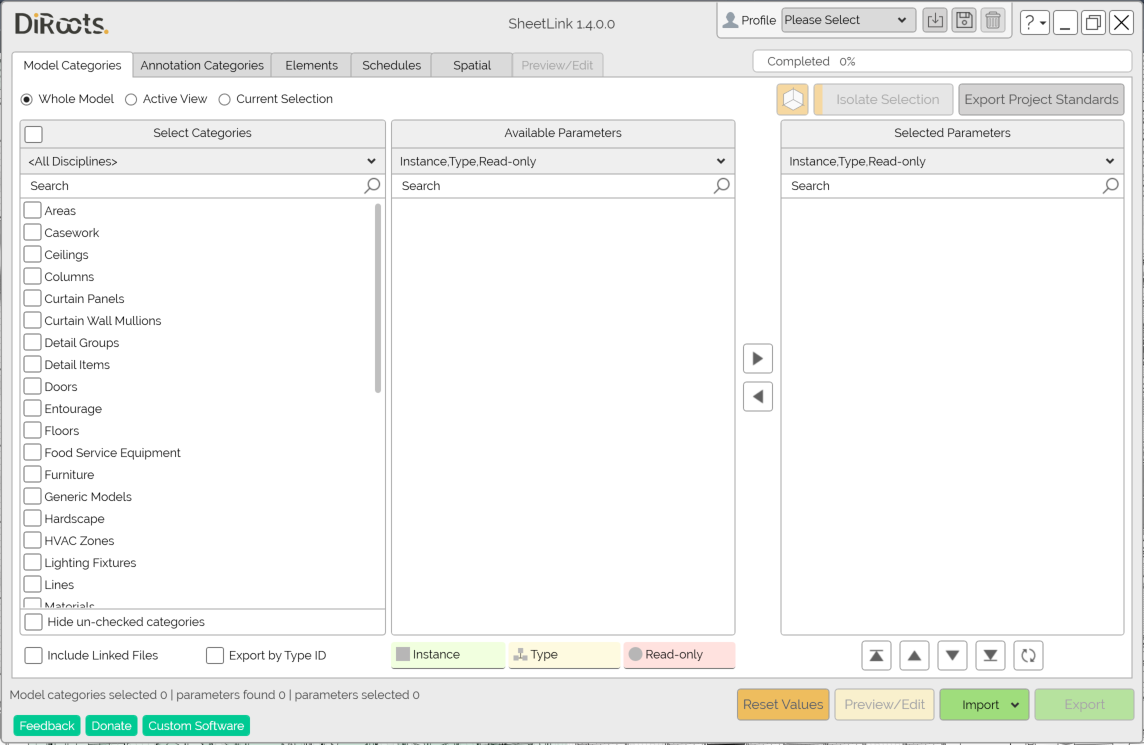
Note: the version on the image may not reflect the latest version of SheetLink/DiRootsOne.
Preview/Edit
Click to preview and edit the sheet before exporting it.
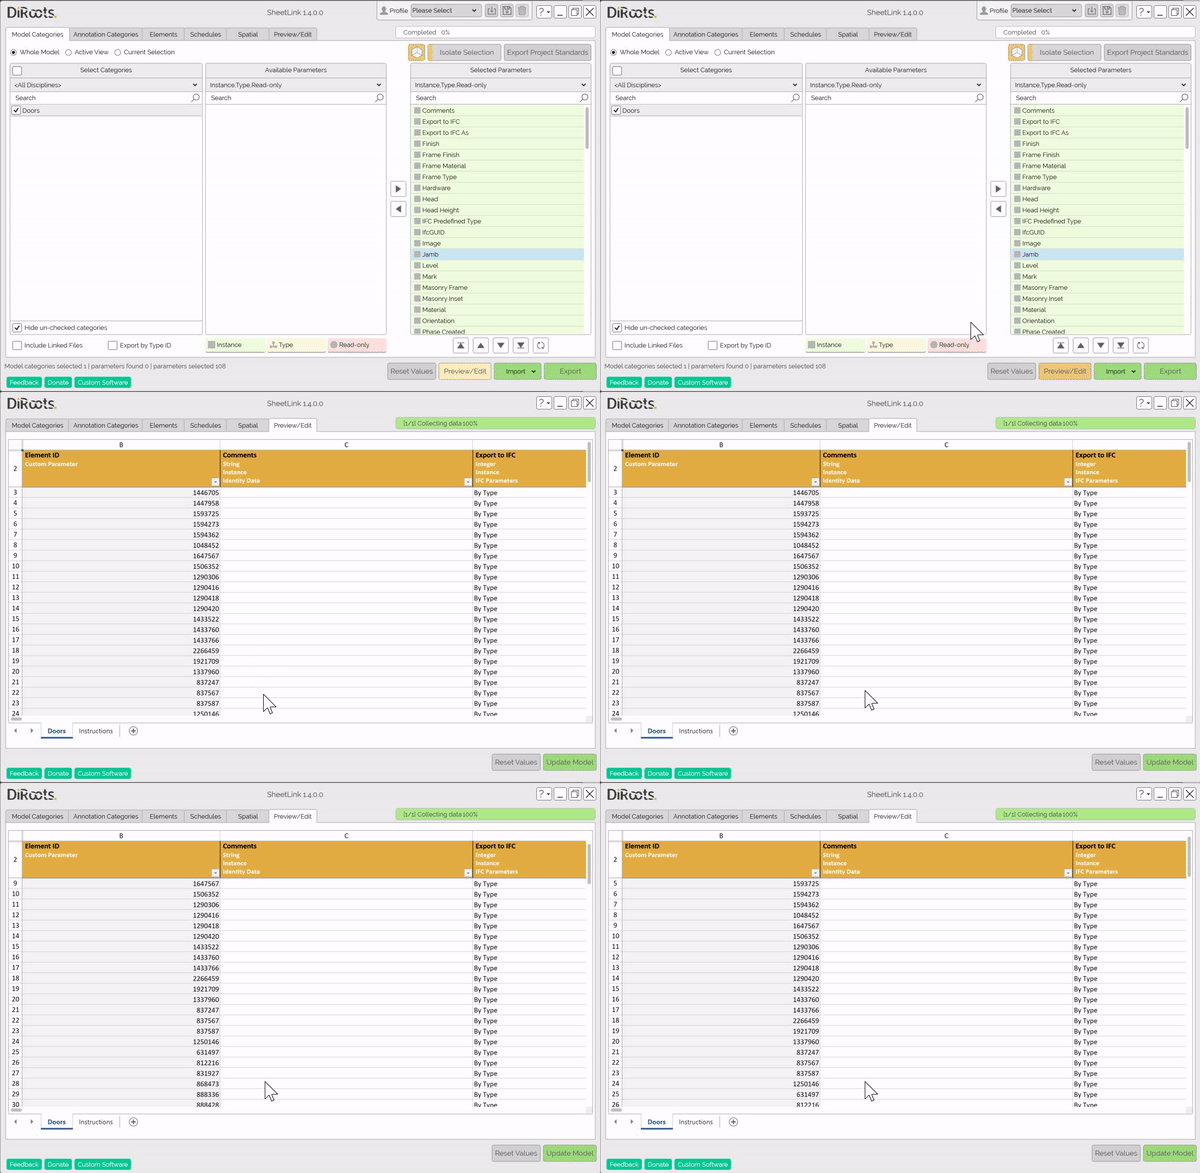
Note: the version on the image may not reflect the latest version of SheetLink/DiRootsOne.
Export
Click to export the sheet to Google Drive or Excel.
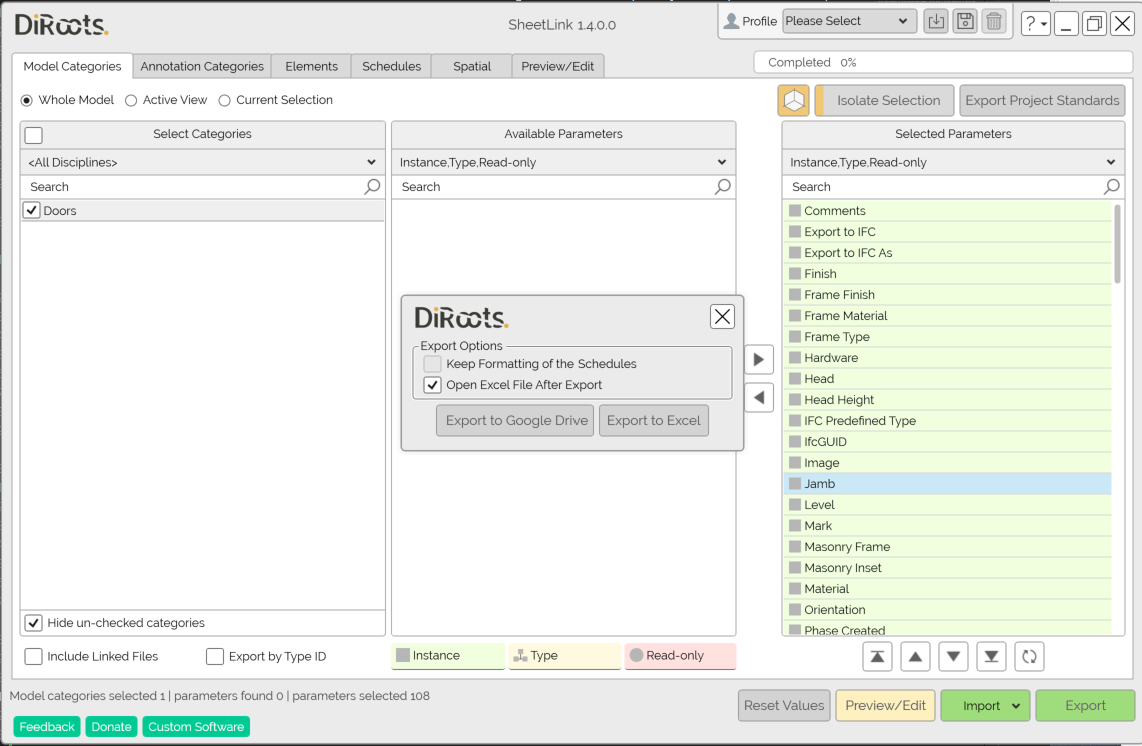
Note: the version on the image may not reflect the latest version of SheetLink/DiRootsOne.
The Excel file is editable and after editing can be imported through SheetLink. Caution, open the Instruction tab in your Excel file to get the colors legend.
# Note:
Yellow: Type Value
Red: Read-only Value. This fields can not be edited.
Grey: Parameter does not exist for this element.
# Note:
If you are changing the value of 'Type Parameters', ensure that you have the same value for all elements with the same 'Type ID'
Import
If you have made any edits to the file, import it and update the current model on Revit. Before importing the file, you can preview the sheet to be sure, and then complete the import.
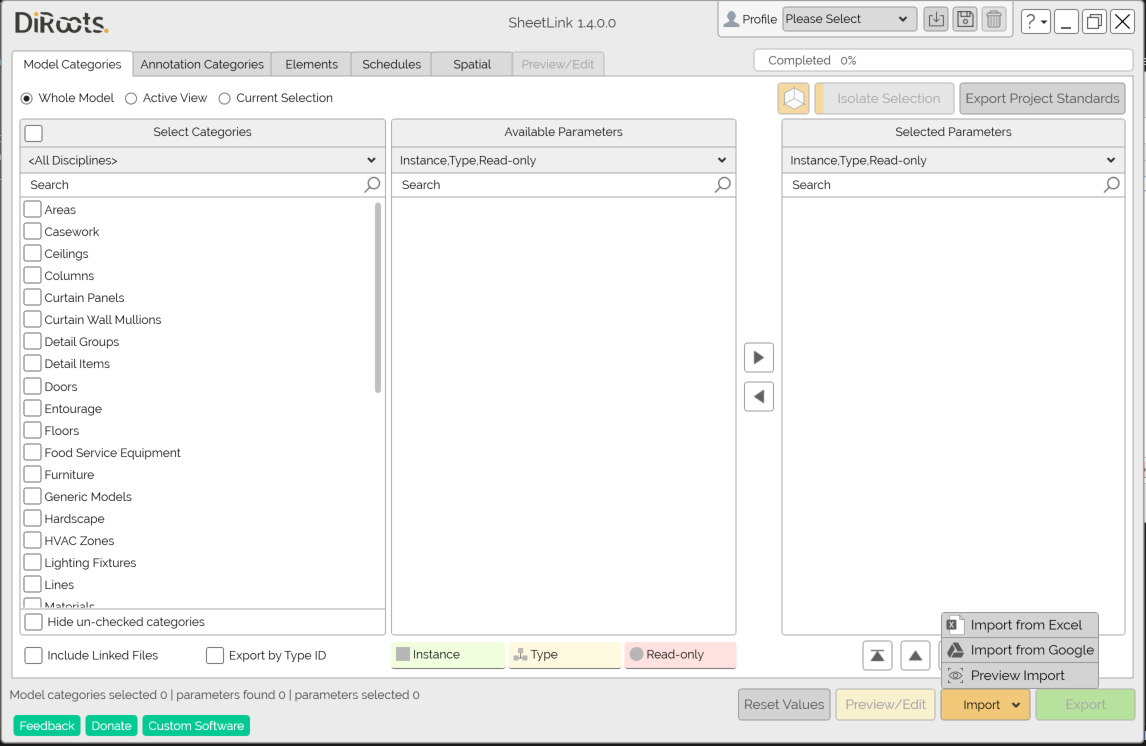
Note: the version on the image may not reflect the latest version of SheetLink/DiRootsOne.
# Note:
- Import file from Google Drive or from Excel.
- Track the file import progress bar.
Let’s go to the next tab to manage the Annotation Categories.