TableGen
Import your spreadsheets into Revit as Legend Views, Schedule Views and Drafting Views. Collaborate with non-Revit users and bring the beauty of your Excel Tables into Revit.
Table of contents
TableGen
Import a table
Follow the firsts steps:
- Choose a spreadsheet you want to import into Revit and make a selection of the range of cells you want to bring to Revit, and then name the previously selected range of cells and hit Enter. After selecting the data, save the Excel file to import it.
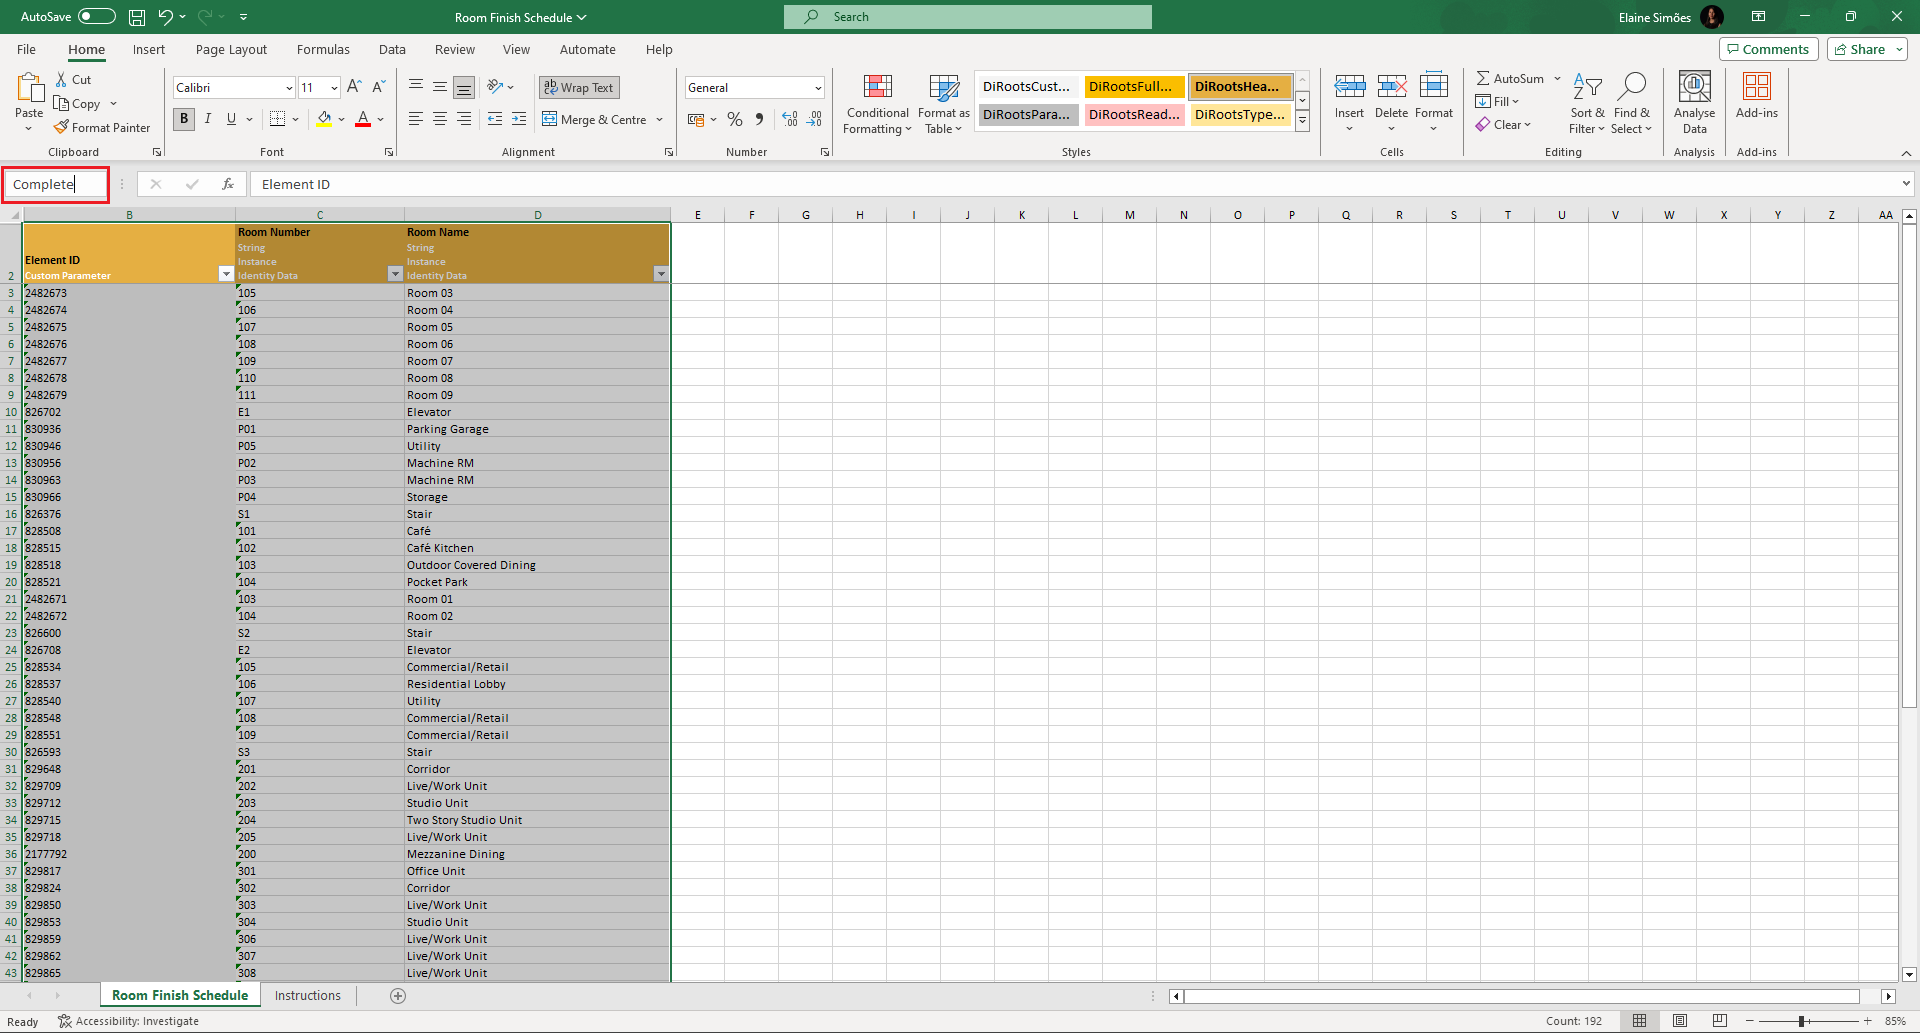
Note: the version on the image may not reflect the latest version of TableGen/DiRootsOne.
You can also to create multiple worksheet regions and each one can be individually imported to Revit.
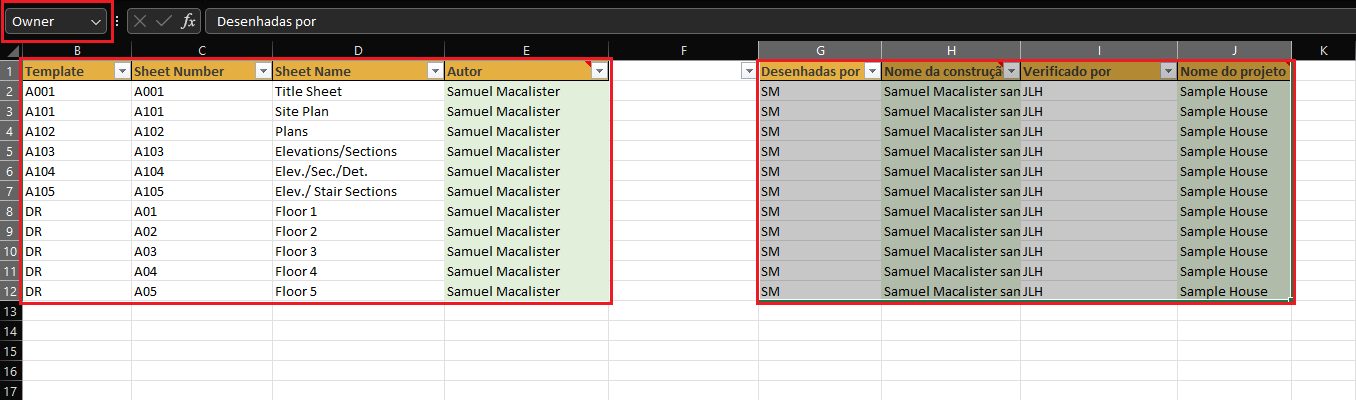
Note: the version on the image may not reflect the latest version of TableGen.
- Select the TableGen from the DiRootsOne menu, and click on the Add Tables button. The next step is to select the Excel file.
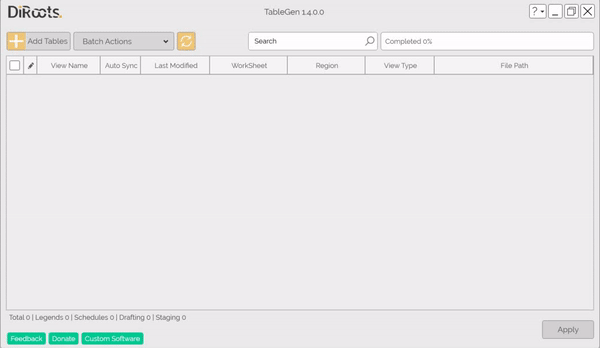
Note: the version on the image may not reflect the latest version of TableGen/DiRootsOne.
- The fields will be filled in by default, but you can change them to complete the process.
- Number of copies: the TableGen will import the number of copies filled in this field.
- Excel File: select the Excel file to be imported.
- WorkSheet: choose the current WorkSheet.
- WorkSheet Region: choose the selection created in the Excel file.
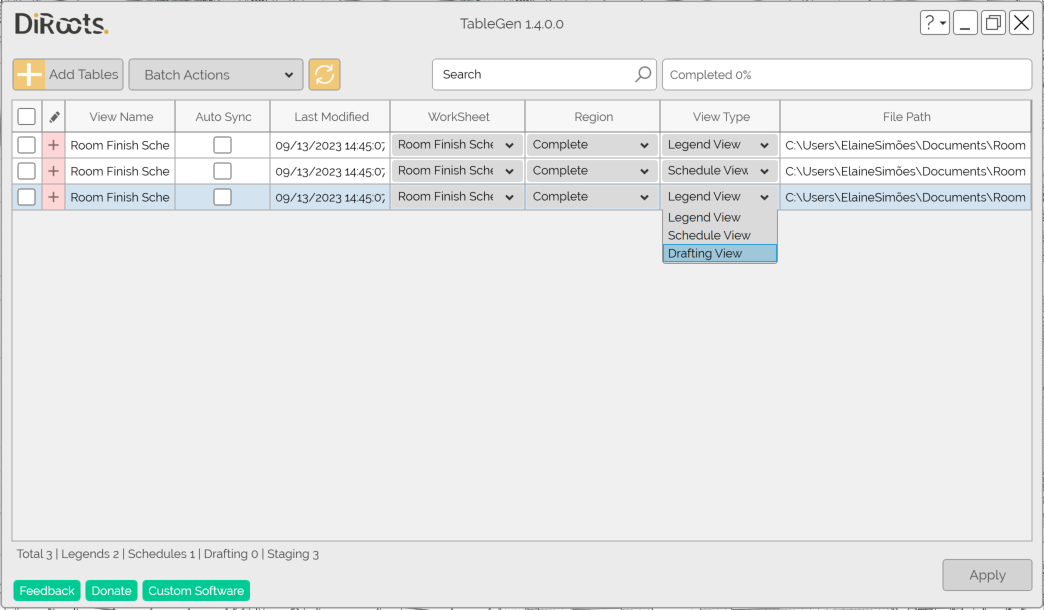
- View Type: choose if you want to import like a Legend View, Schedule View or Drafting View.
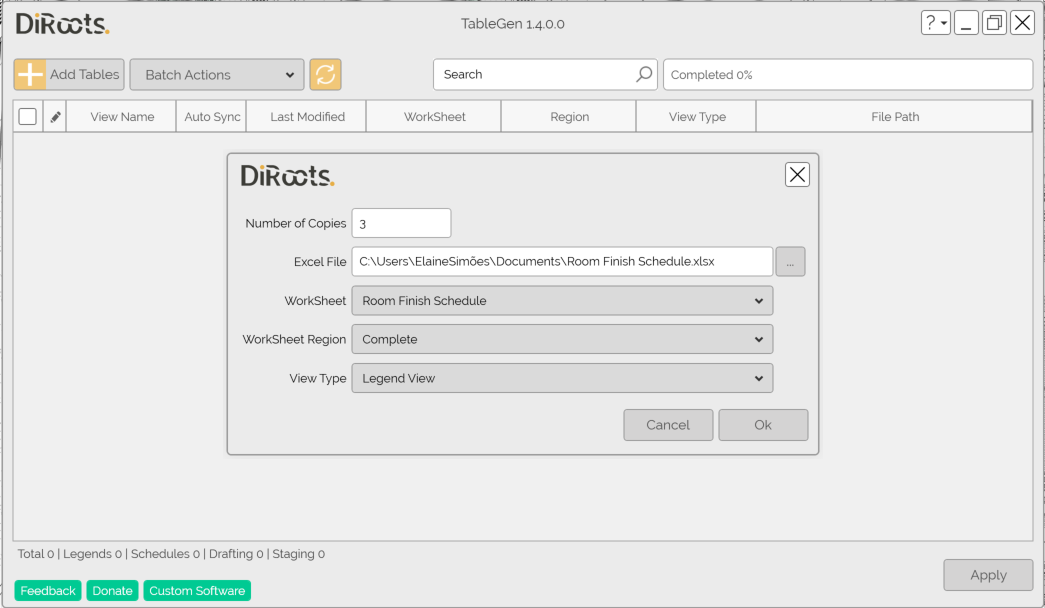
Note: the version on the image may not reflect the latest version of TableGen/DiRootsOne.
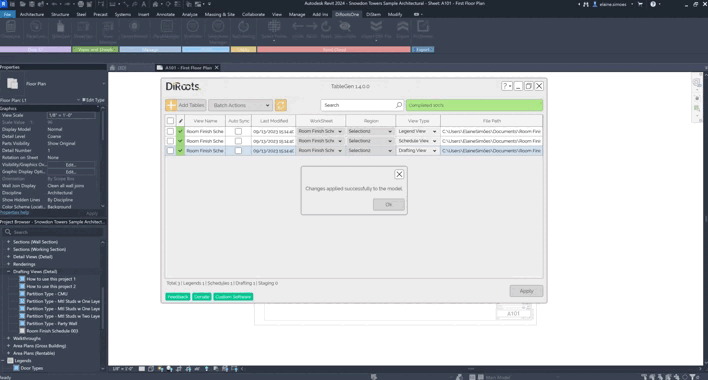
- Confirm the import on the OK button, and wait a few seconds for the import to complete.
Note: the version on the image may not reflect the latest version of TableGen/DiRootsOne.
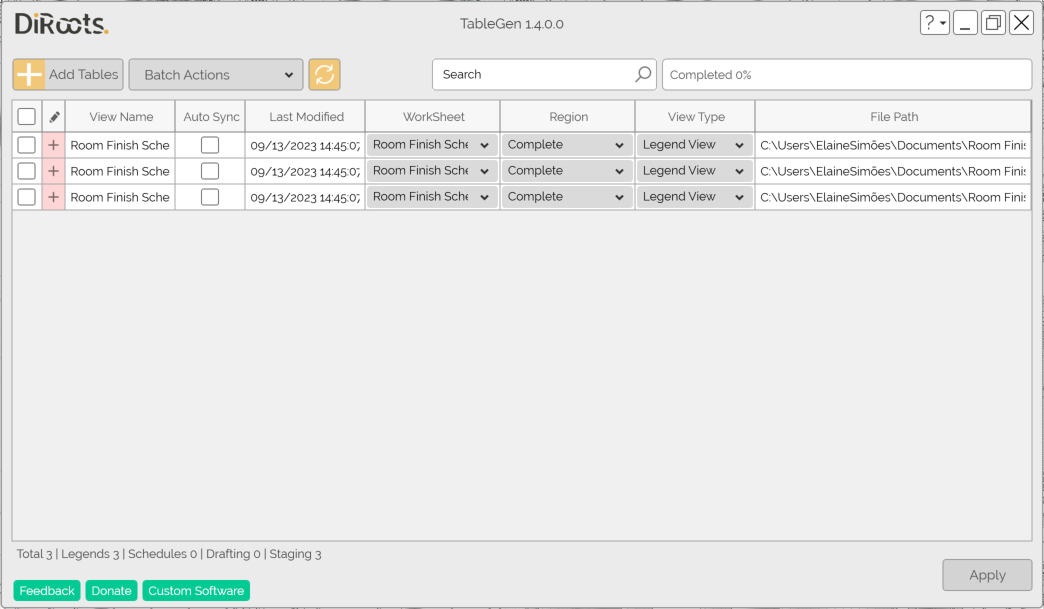
You can edit some information in the file before the “Apply” action, to create the views.
# Editable fields:
View Name: it is a text field and you can change the current name.
WorkSheet: change the selected WorkSheet in this drop-down field.
Region: drop-down field to change the selection made in the Excel file.
View Type: change the type of view to be created.
Note: the version on the image may not reflect the latest version of TableGen/DiRootsOne.
- Click the Apply button to complete the process and see the new views created.
Note: the version on the image may not reflect the latest version of TableGen/DiRootsOne.
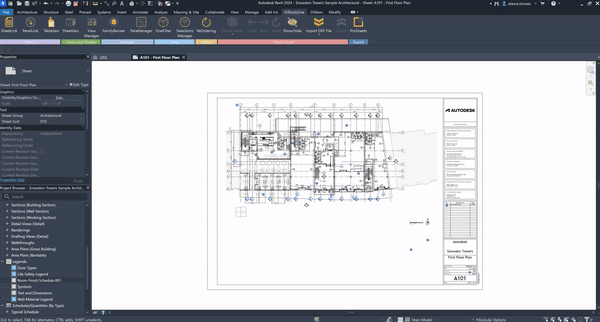
All right, now that you’ve imported your table into the model in Revit, you can work with the imported data, and even add these views to the existing sheets in the model.
Note: the version on the image may not reflect the latest version of TableGen/DiRootsOne.